Main functions
You will find some of the used terms in the dedicated section at the end of this document.
How to register ?
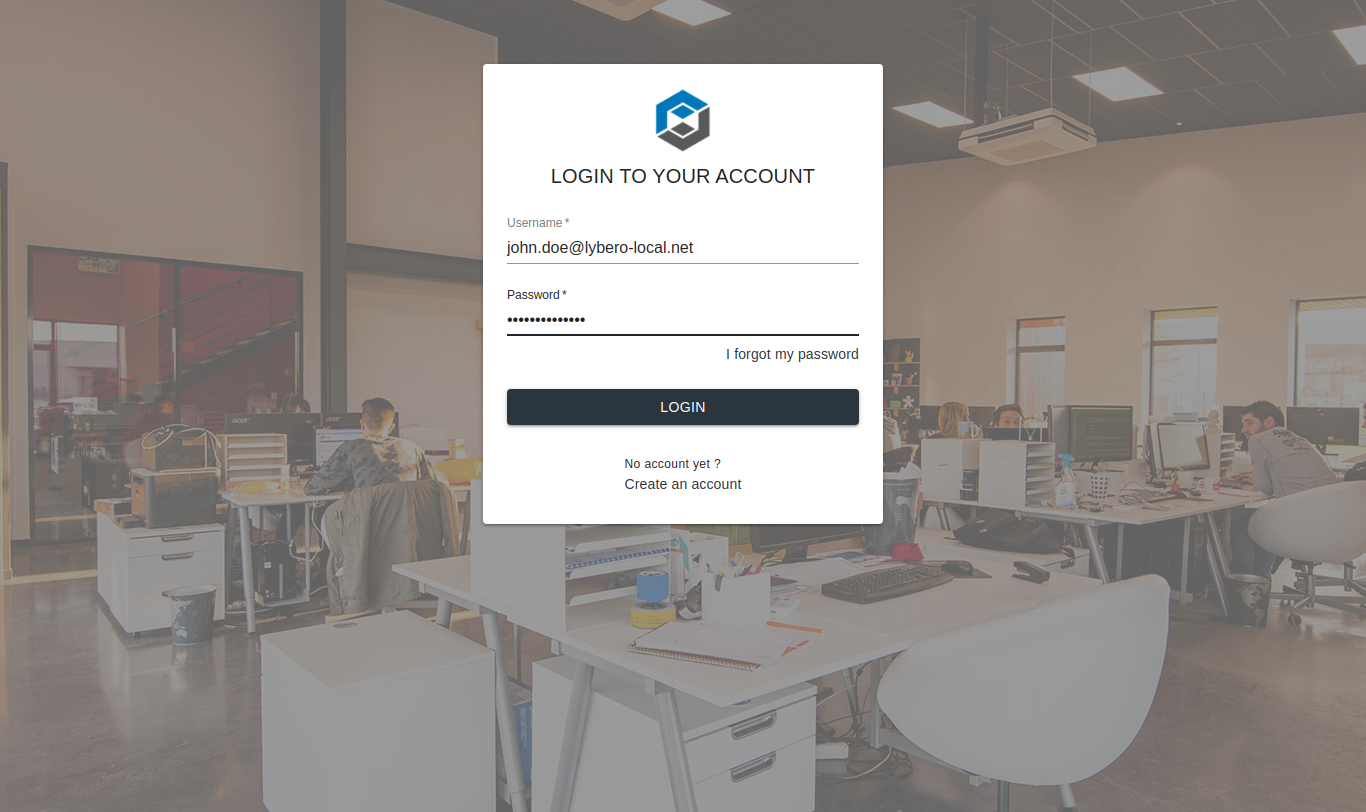
Go to https://drive.lybero.net. You will land on the login screen.
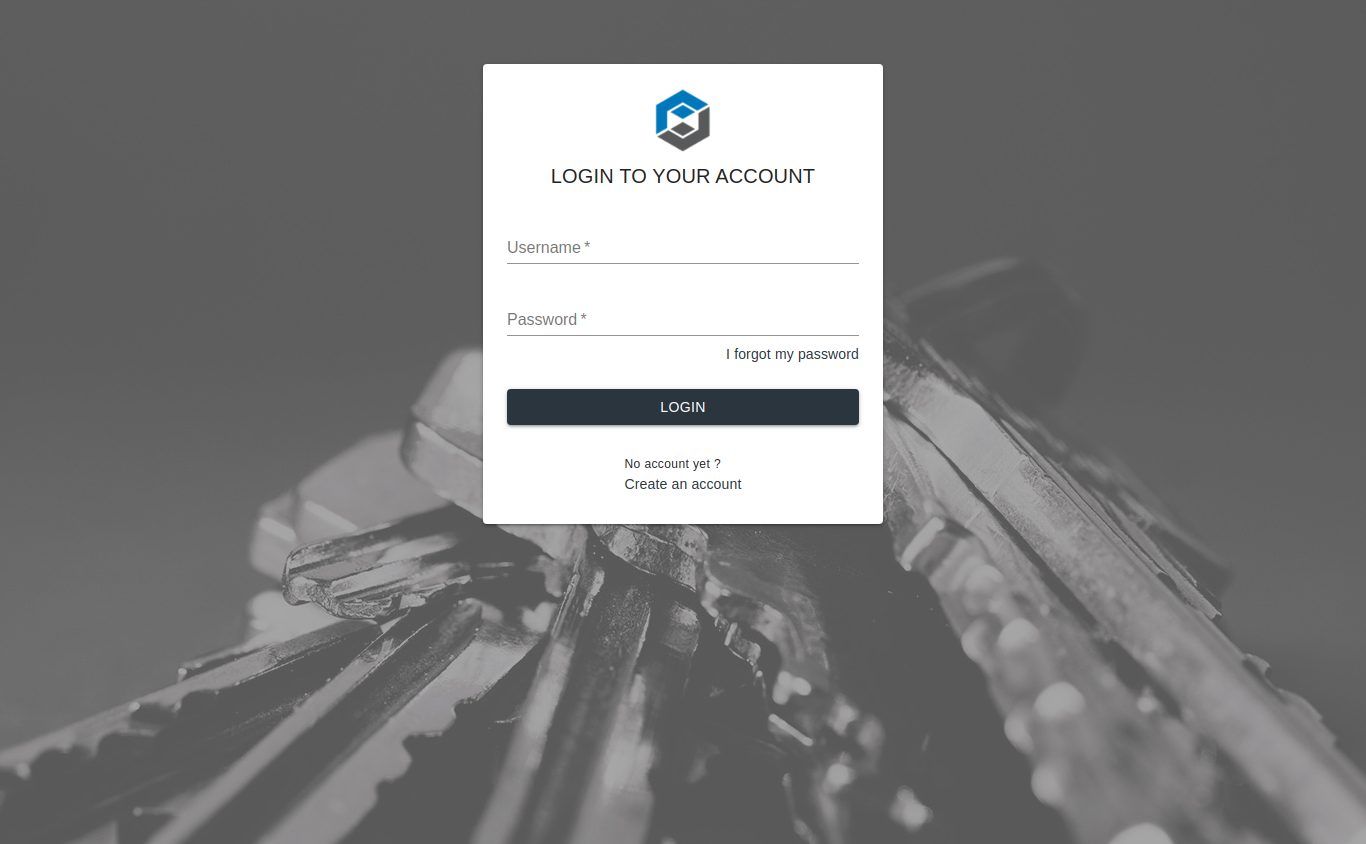
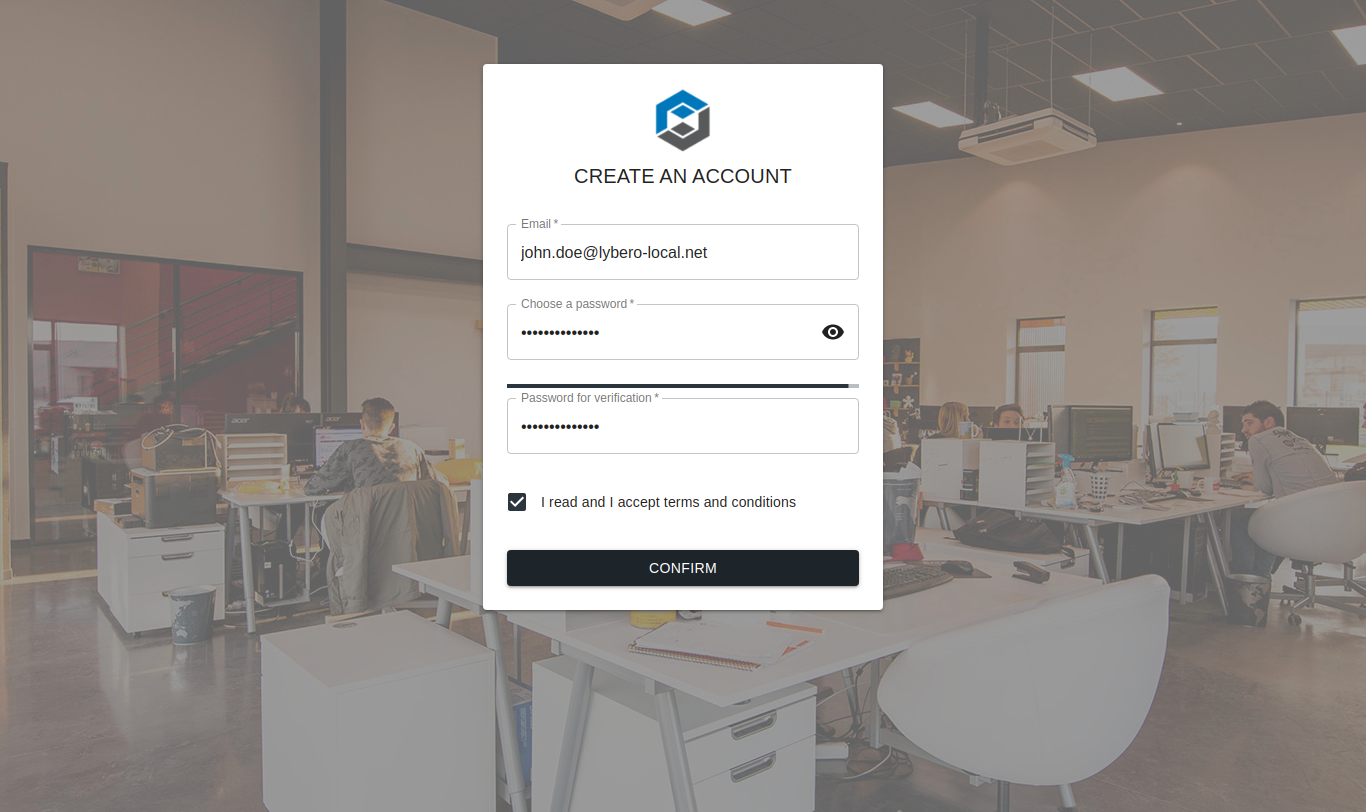
Click on the "account creation" link to proceed to registration. You will see the following screen :
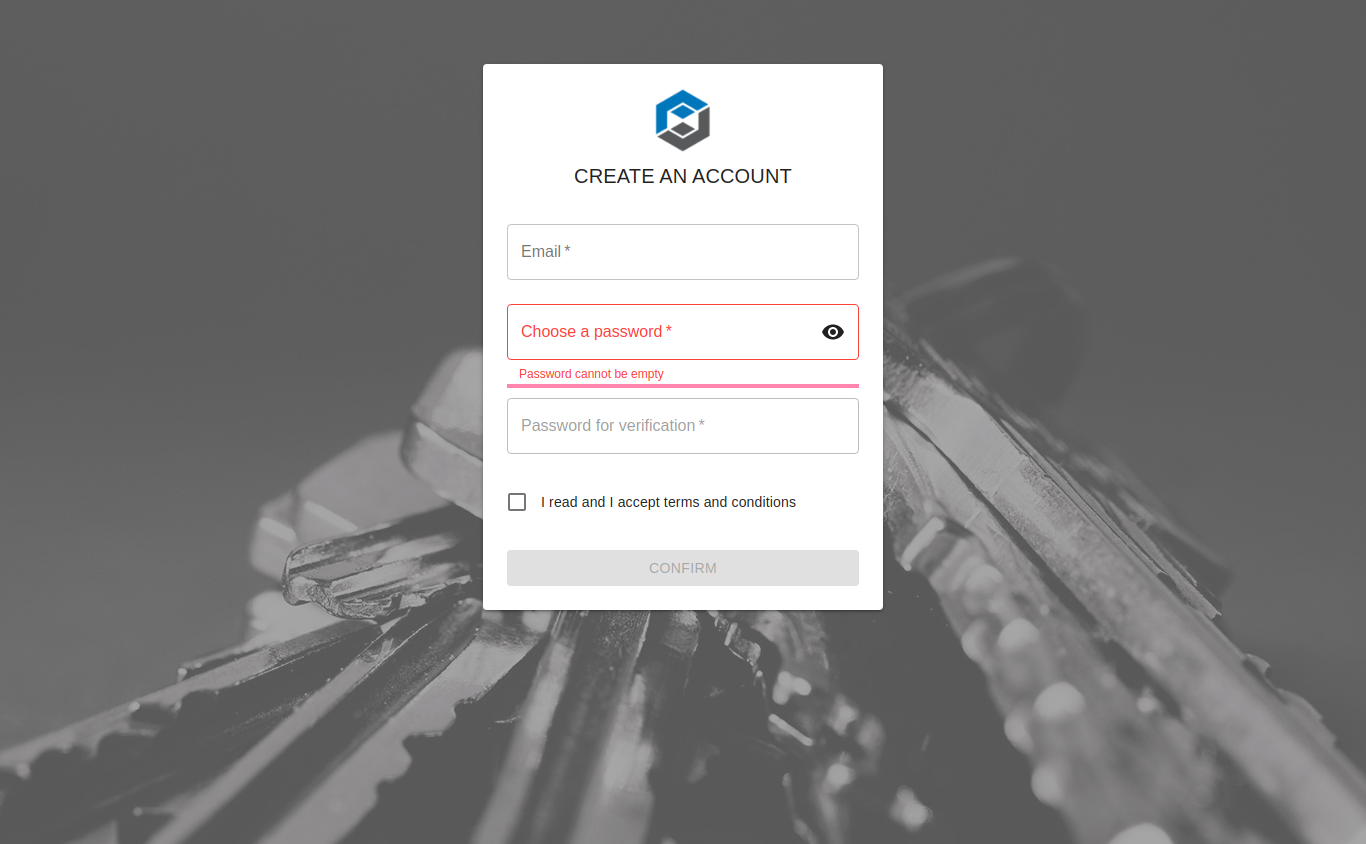
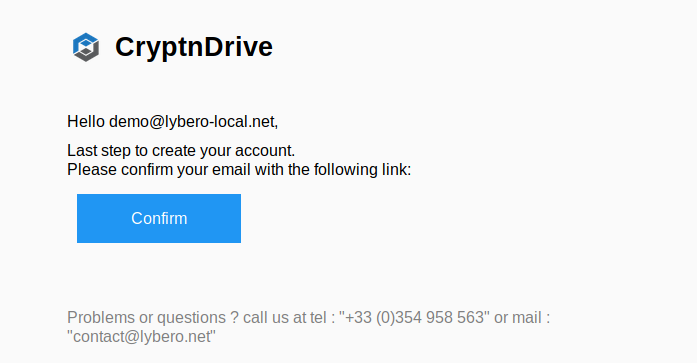
At tis time, you need to enter your email address, a passphrase, a confirmation passphrase (don't loose it, use tools f you want, like keepass to store your passwords) et agreed to general terms and conditions Your passphrase will be accepted only if it's reasonably complex (use lowercase, uppercase, numbers and special chars) which is displayed with the bar under the password field. You will recieve an message in your mailbox. By clicking the link in that message, you will finalize the registering procedure on https://drive.lybero.net
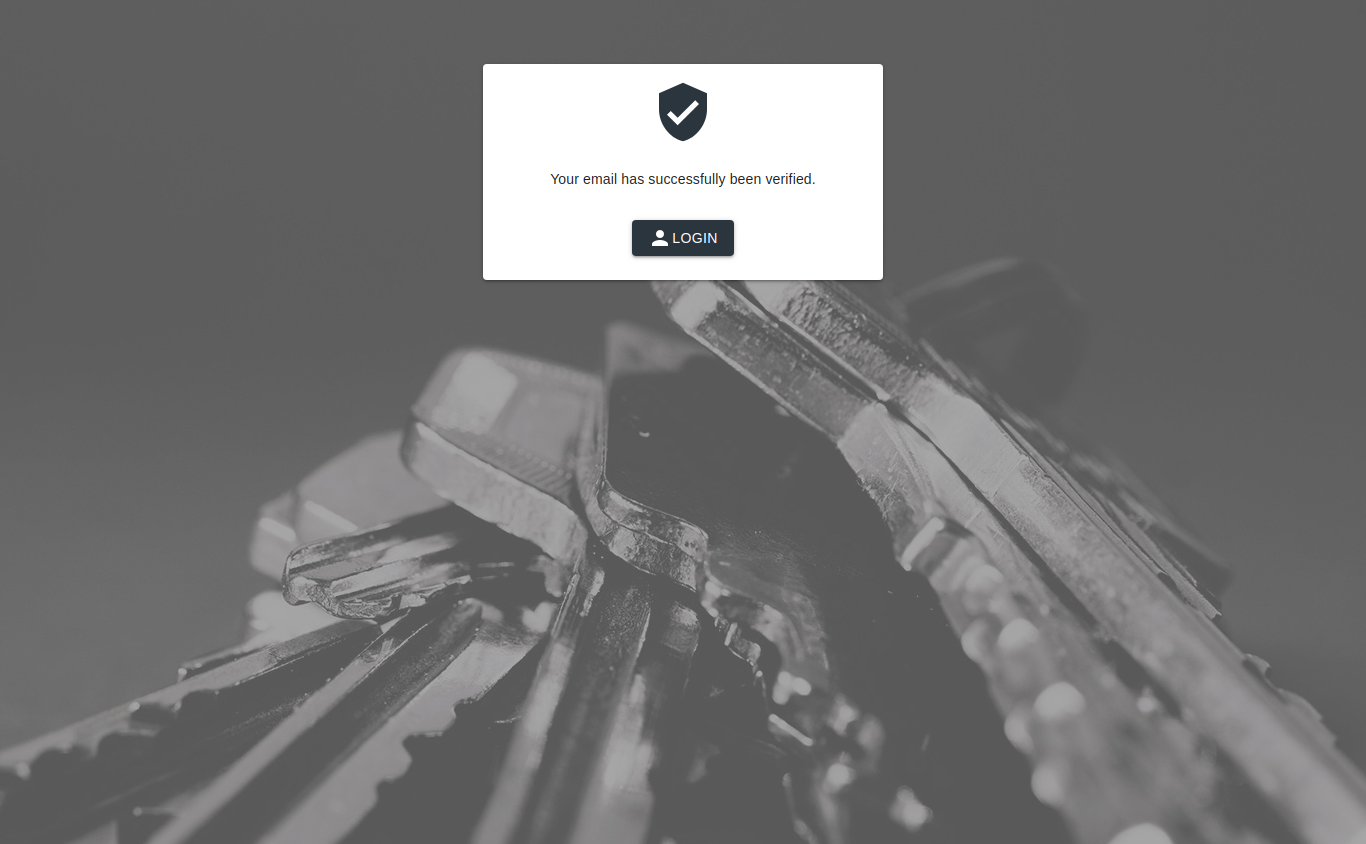
When you click on the confirmation link, you will land on the following screen et you can now access the login screen. You just need to enter you passphrase (email is already done) to connect to the system.
Home page
When you are connected, you are on the Home page.
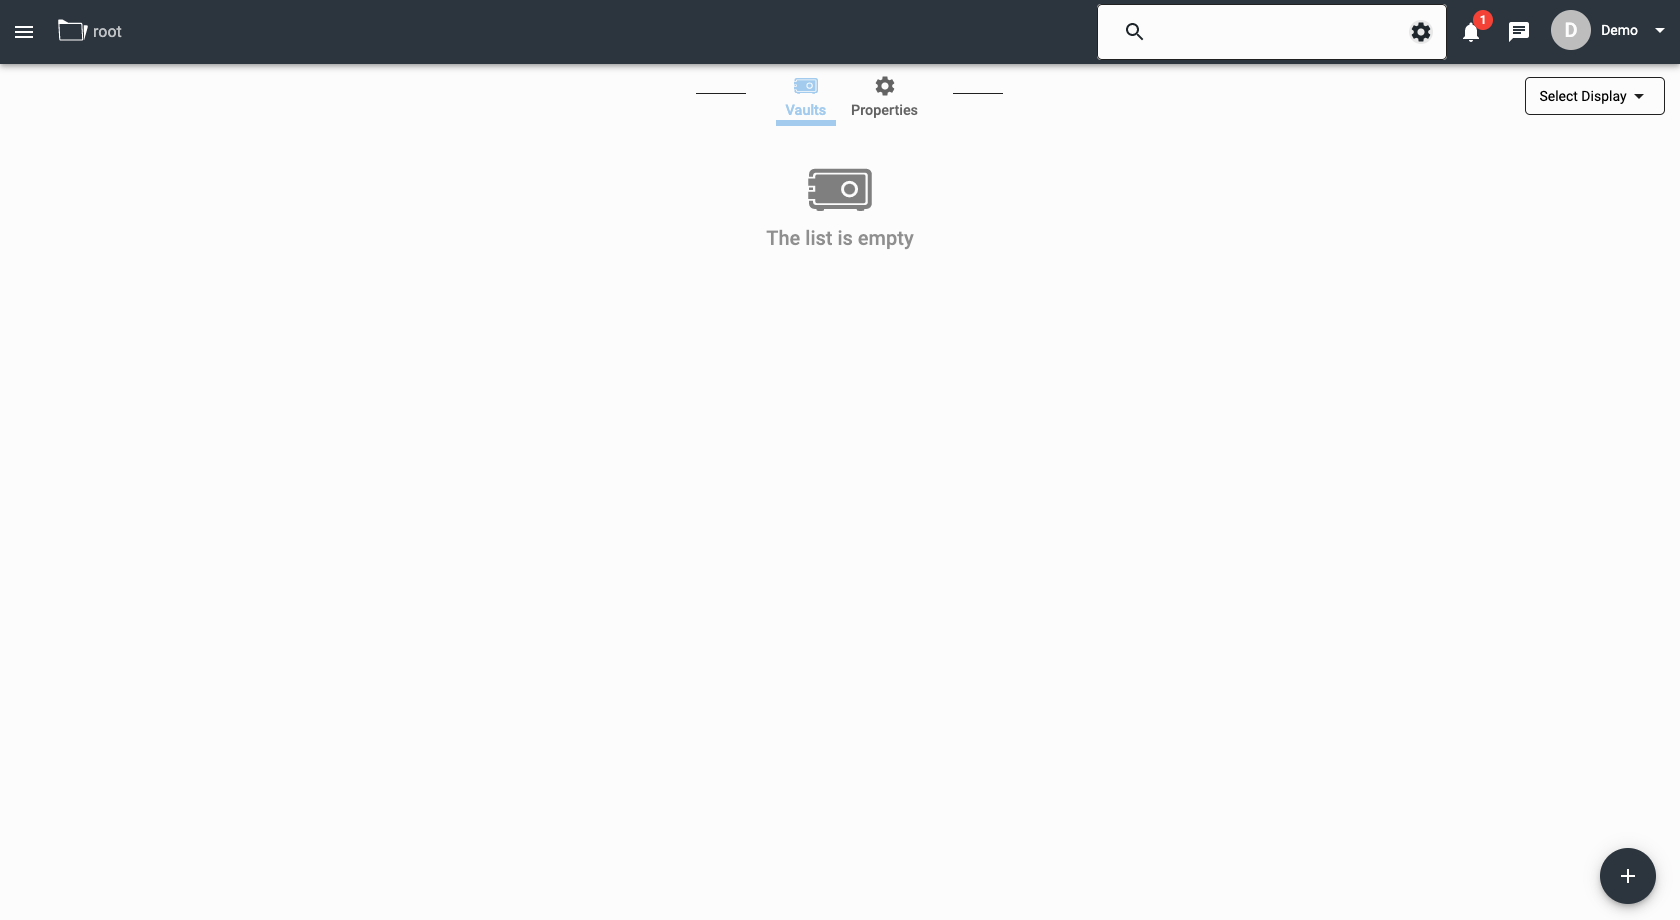
this screen lets you :
- see all your vaults, vault folders, urls, but you don't have any for now,
- create new elements thank to the speed menu, just hover this icon with your mouse (
 ),
), - create a new files vault (
 ),
), - create a new url and send it to someone who want to send files to you (
 ),
), - creat new vault forlders (
 ),
), - change your personal settings (menu in the right corner
 ),
), - see your notifications (system messages, your vaults creations, new shares to you, etc...)(
 ),
), - see your new private messages waiting to be read (
 ),
), - see actions needed to be done (i.e. give access to someone asking),
- see were you are in the structure and get back to a parent folder,
- change the view properties
![]() At any moment, the main menu (in the left corner
At any moment, the main menu (in the left corner ![]() ) lets you get back to this homepage with the vaults link (
) lets you get back to this homepage with the vaults link ( ).
).
App Main bar and tools
You'll find some usefull tools in the main bar and near it :
Path

This represent the path between the root folder and where you are. Each path element is clickable to get you to that precise point. In exemple, in that screenshot, you can see that the full path to where you are is : root > coffre test > classement. You can click on root to get in the root folder.
In case of you're using a small screen or a mobile, this path is replaced by a menu for the most part and just let you see the last place.

If we keep our previous exemple, you only see classementbut if you click on the tree dots you can see a menu with your full path again.

Search
You will find in the right
Create a new vault
We will now create a new chest. To do so, we use the button and then the ![]() button at the bottom right of the home screen.
button at the bottom right of the home screen.
You are then prompted to enter a name for your new document vault: 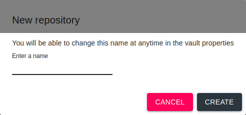 .
.
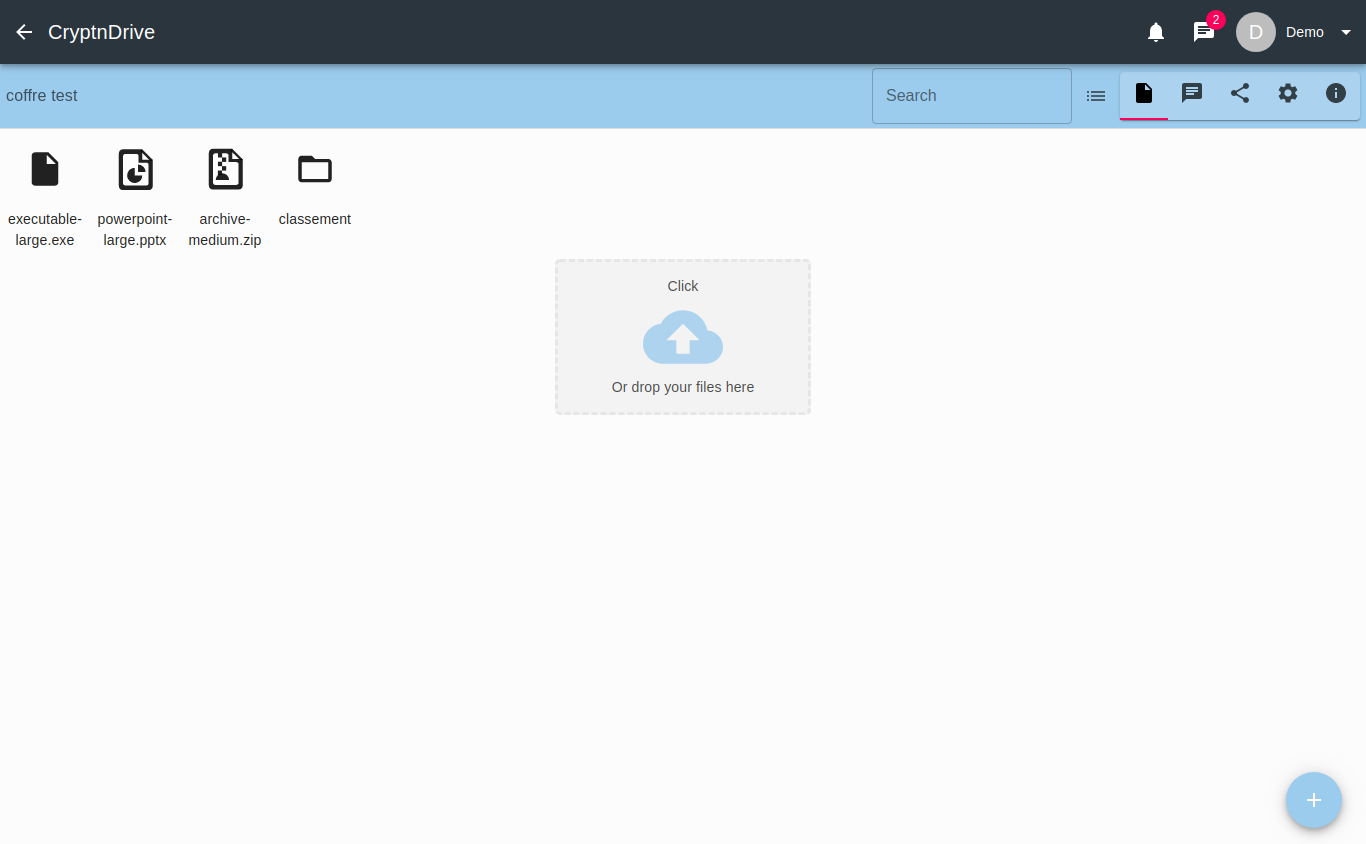
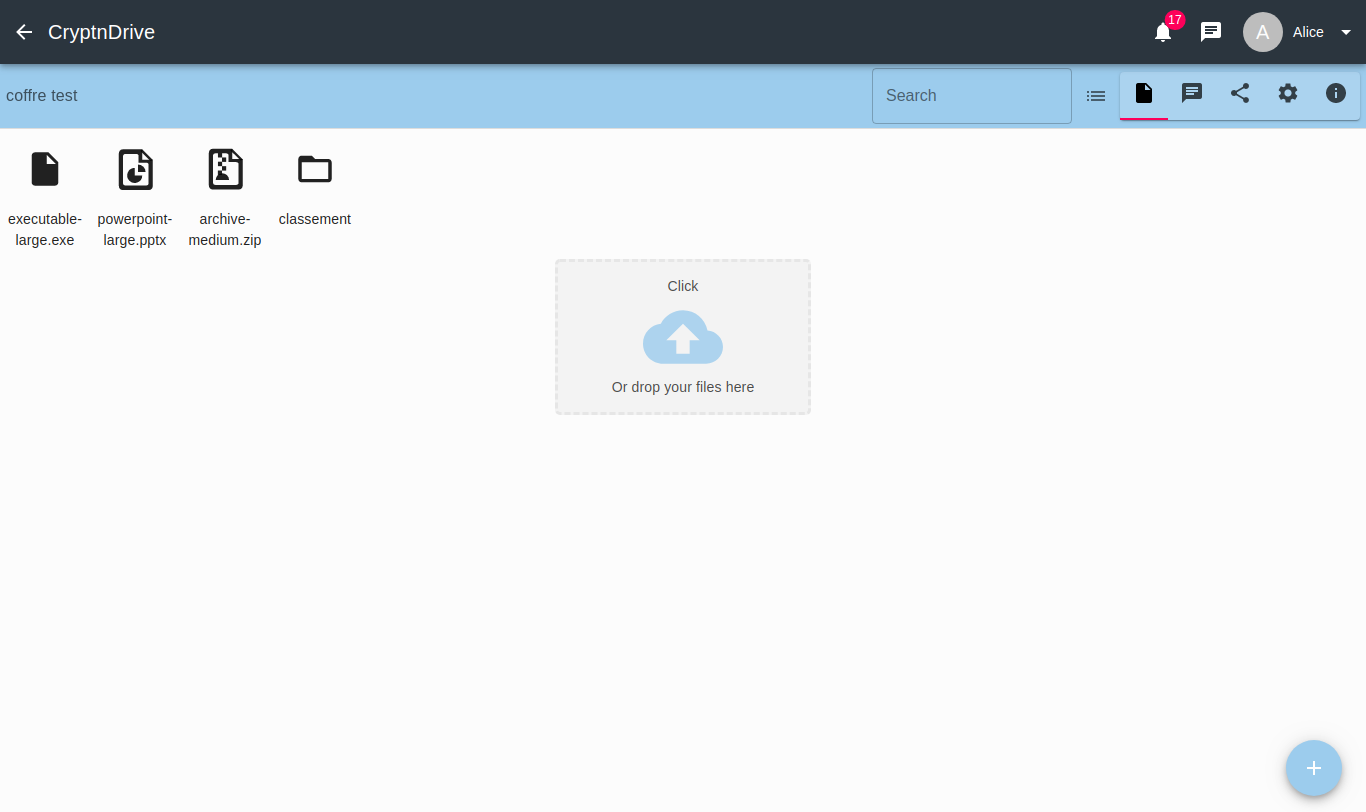
Once you have entered a name and validated it by pressing the create button, you will find yourself inside your new vault.
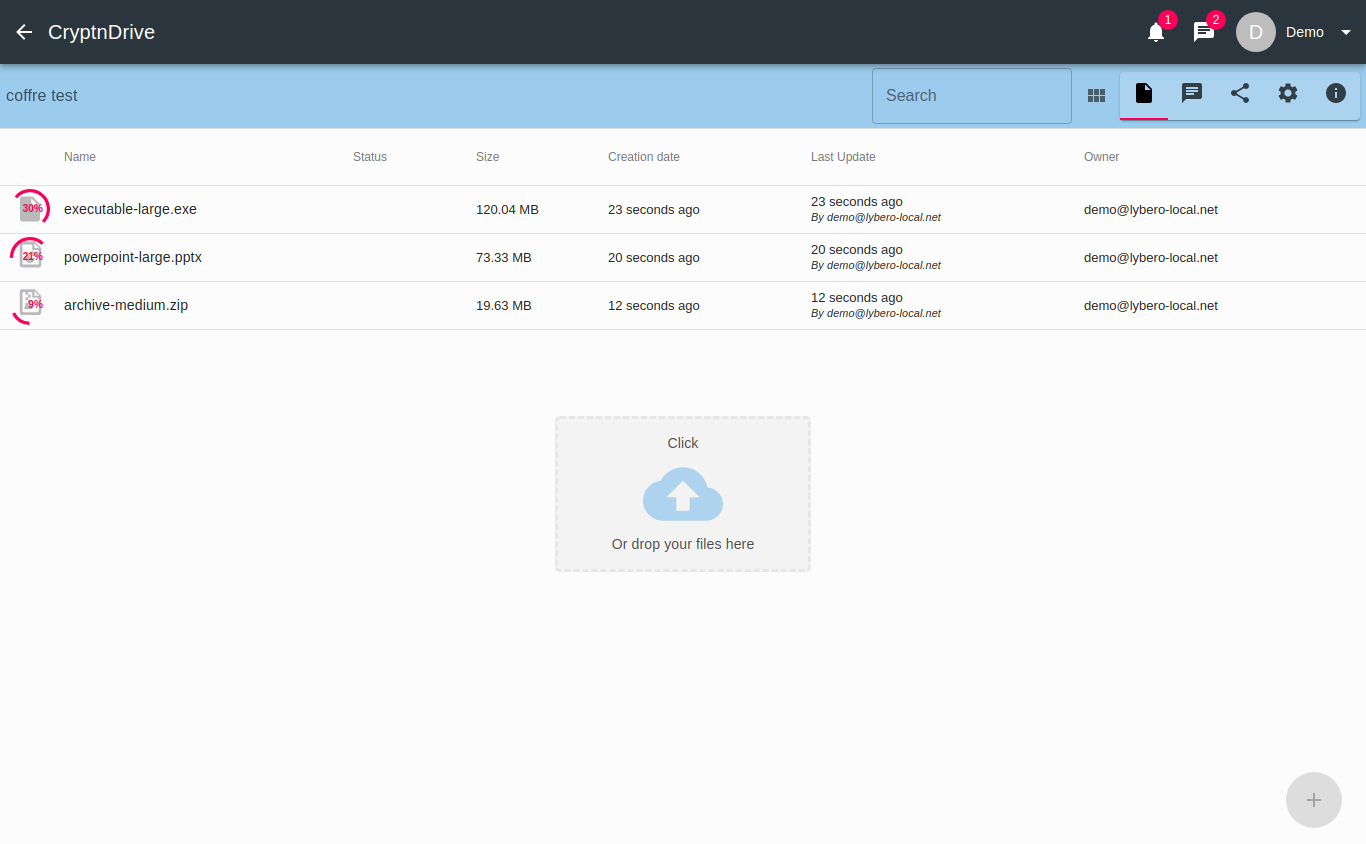
At this point, your vault is empty, so let's drop some files to understand how it works.
Deposit of one or more files
For this, nothing could be simpler, several solutions are available to you:
Drag your file(s) from your explorer to the drop zone
- This area is bordered by intersecting lines in its normal state and this border is colored as soon as you try to drag files into it,


- by clicking directly on this drop zone (this will then open a window in your explorer),
- or by using the quick menu (
 ) and then (
 )
)
As soon as your files have been dropped (or added by your explorer), they go into a transfer state and display a progress bar around them, when it has reached 100% and the progress bar has disapeared , the operation is complete, your files are downloaded and encrypted.
You can use directories to organize your files. To do this, go to the quick menu at the bottom right () then to the icon representing a directory (![]() )
You will be prompted to enter a name for your directory which will appear once the name is validated.
)
You will be prompted to enter a name for your directory which will appear once the name is validated.
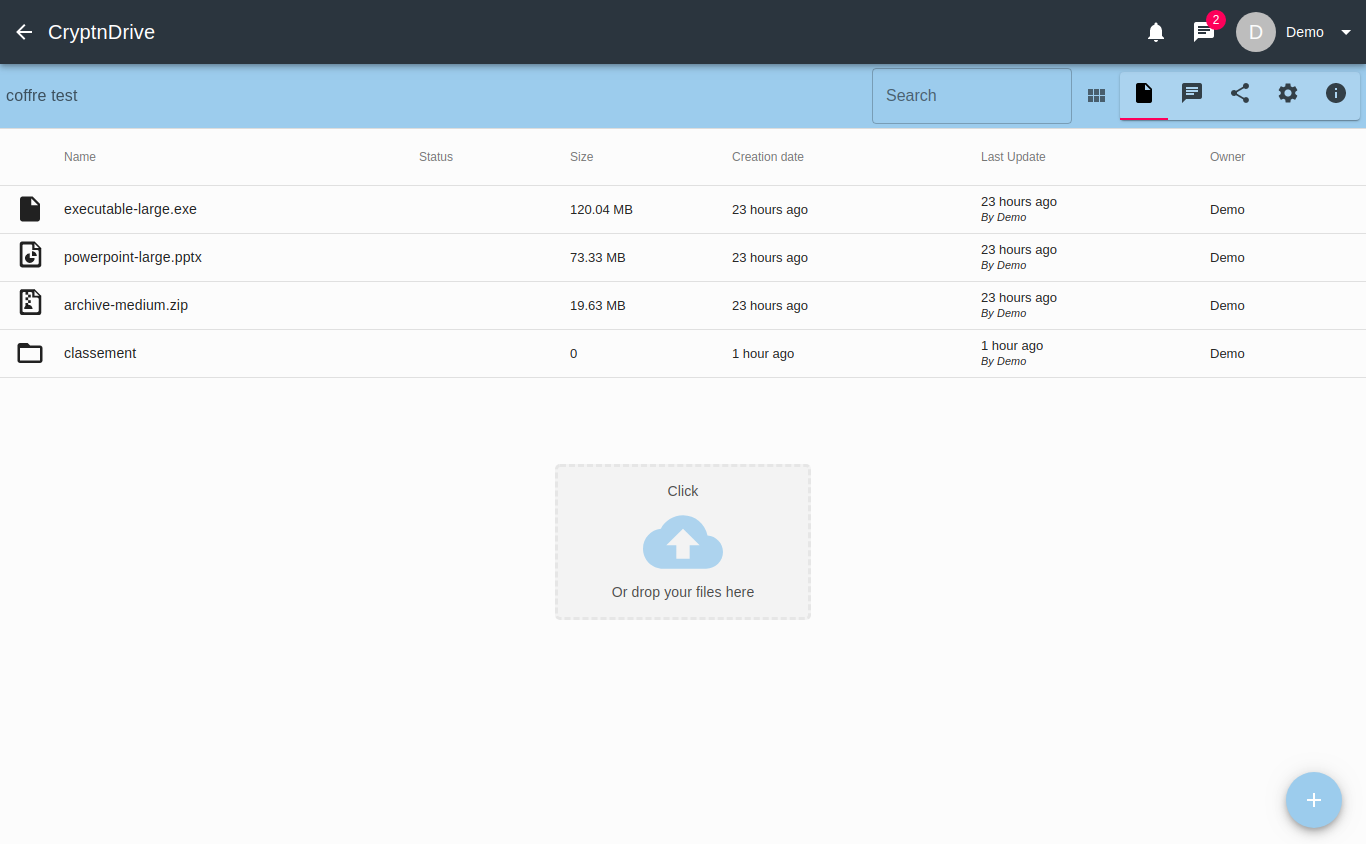
Each file is represented by an icon and allows you, with a right click (or a long press for tablet / smartphone versions) to access certain operations on this file:  , these actions are :
- View
 (if the file type is supported)
 - Download

- Delete

- Rename

- Move

Move a file
Once you have uploaded files and created directories, you can move your files between the different folders in the vault (you could very well have uploaded your files directly to these directories).
To do this, go back to the contextual menu and click on the move button (![]() ).
).
A new window will then open that will allow you to navigate through the folders in the vault in order to reach the directory you want to move your file to.

Toolbar and tabs
At the top of your vault window is a series of specific views of this vault.
 you will find there respectively:
Path / vault name
This section represents the name of your vault and displays the path in the vault.

Search field
Simply type the beginning or the exact name of a file to easily find it, the display of the results refreshes with each character typed.

Change of view
With the change view button (![]() ) you can switch from a list view (the default view) to a tile view.
) you can switch from a list view (the default view) to a tile view.
File tab
This button (![]() ) allows you to have a view on your files (This is the default view when you enter a vault)
) allows you to have a view on your files (This is the default view when you enter a vault)
Comments tab
This button (![]() ) will take you to the comments in the vault.
) will take you to the comments in the vault.
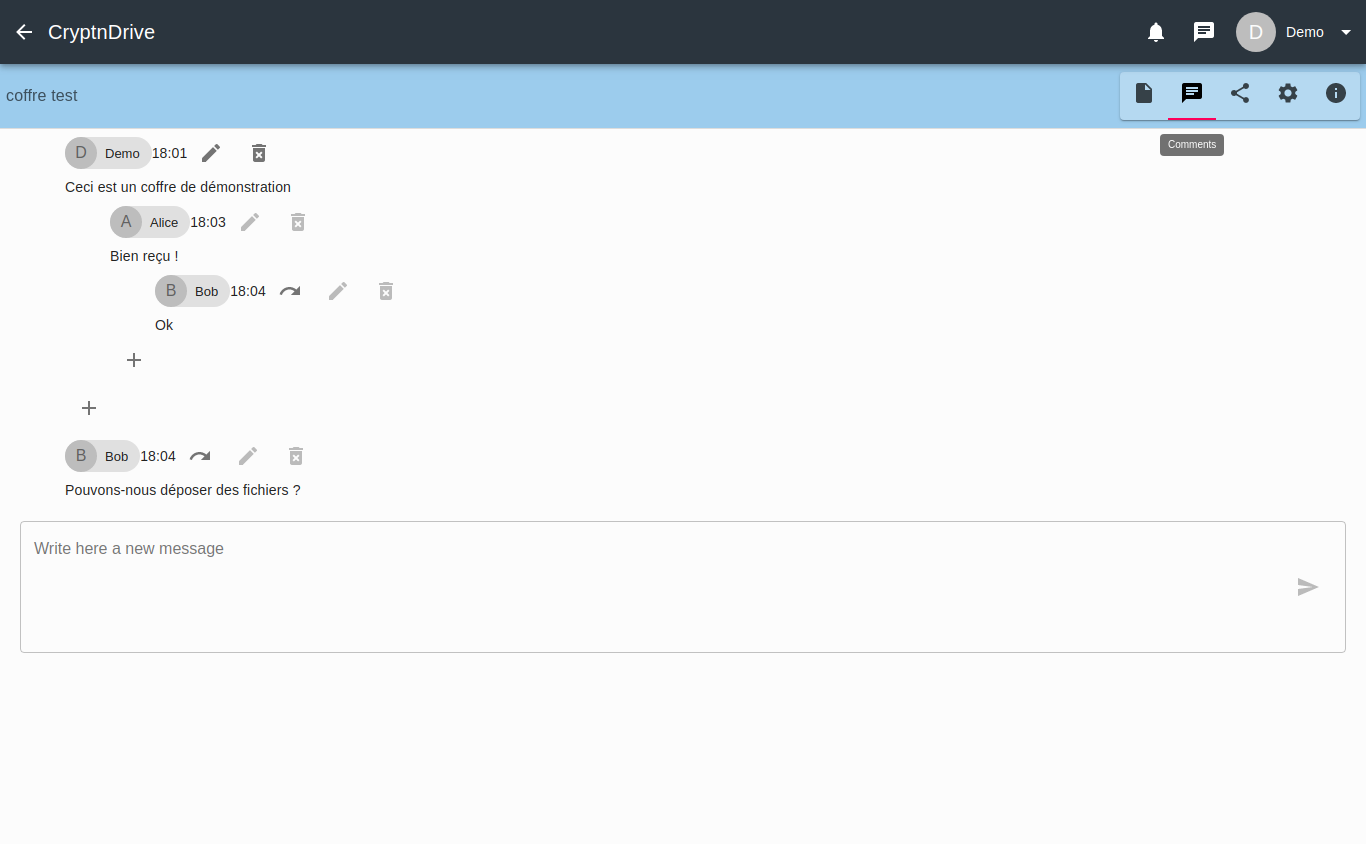
To add a comment, write your message in the text area and use the send button (![]() ).
).
In order to reply to a previous comment, you can use the dedicated button (![]() ) which will bring up a new text area and a new send button.
) which will bring up a new text area and a new send button.
Sharing tab
This button (![]() ) will allow you to access shares and create new ones, a complete chapter on shares is in this guide (-> continue to the chapter dedicated to shares)
) will allow you to access shares and create new ones, a complete chapter on shares is in this guide (-> continue to the chapter dedicated to shares)
Properties tab
The button (![]() ) gives you access to the vault properties.
) gives you access to the vault properties.
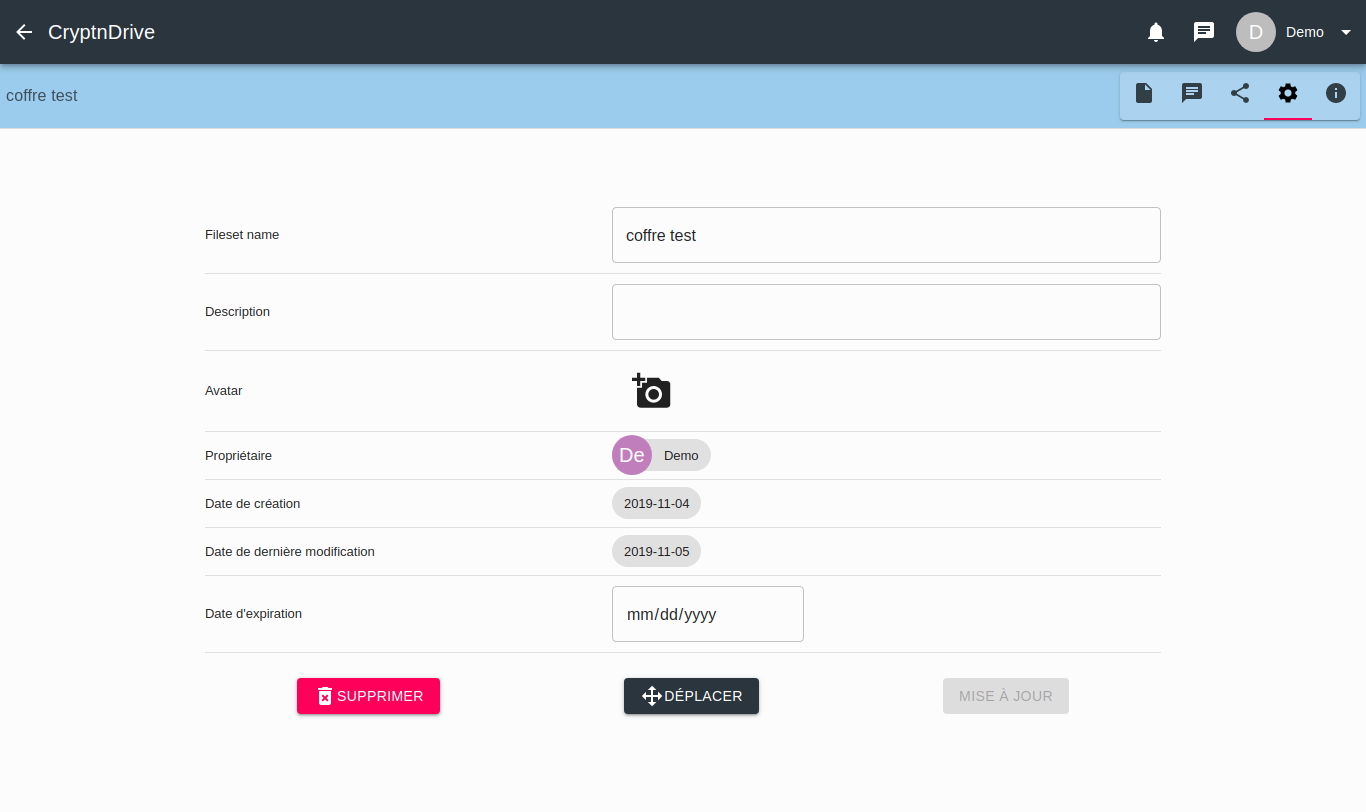
This section allows you (in order) to :
- Change the name of the vault,
- change the description of the vault,
- modify the vault avatar :
- A click on the icon (
 ) will open a window that will allow you to select an image file from your computer.
- A click on the icon (
- Know the name of the vault owner
- Know the creation and last modification dates
- know the expiration date of the vault (if applicable)
Finally, a series of buttons will give you the ability to Delete, Move or Update the properties of your vault.
Logs tab
Finally, the button (![]() ) will take you to the vault logs. In use, one of the valuable features of CryptnDrive is the presence of detailed logs. They allow you to know when a repository is decrypted, a file is loaded, ...
) will take you to the vault logs. In use, one of the valuable features of CryptnDrive is the presence of detailed logs. They allow you to know when a repository is decrypted, a file is loaded, ...
What's in a vault ?
Composition of the vaults
An encrypted safe is composed of the following information :
- The files and texts in the repository. They are stored as a single encrypted file. When the repository is encrypted the list of files or texts is not known. There can be 1 or 100 of them.
- The list of people with whom the repository is shared, including the creator of the vault. Be careful, this list is not encrypted.
- An AES 256 key to encrypt the repository. When the repository is created, this key is generated. It is always stored encrypted by the public keys (ElGamal 2048) of the persons or groups sharing the safe.
- The logs associated with the repository. Some log entries are encrypted, others are not according to their nature.
Vaults safety
At each action (adding a file, a comment, changing the vault name), the vault is encrypted in the browser and saved on the central server. The number of files, file names, file and text contents are encrypted. They can only be decrypted by the repository creator or by a person with whom the repository is shared.
Sharing a vault with a third party
We will now share a vault with a third party who does not have an account in the system.
![]() This poses a particular difficulty. A person who is not registered in the system does not have encryption keys. A safe cannot be encrypted with a public key that does not yet exist! We will invite him/her to register in the system.
This poses a particular difficulty. A person who is not registered in the system does not have encryption keys. A safe cannot be encrypted with a public key that does not yet exist! We will invite him/her to register in the system.
First we open a vault and then in the shares tab (![]() ).
).
You will then find yourself in front of this interface :
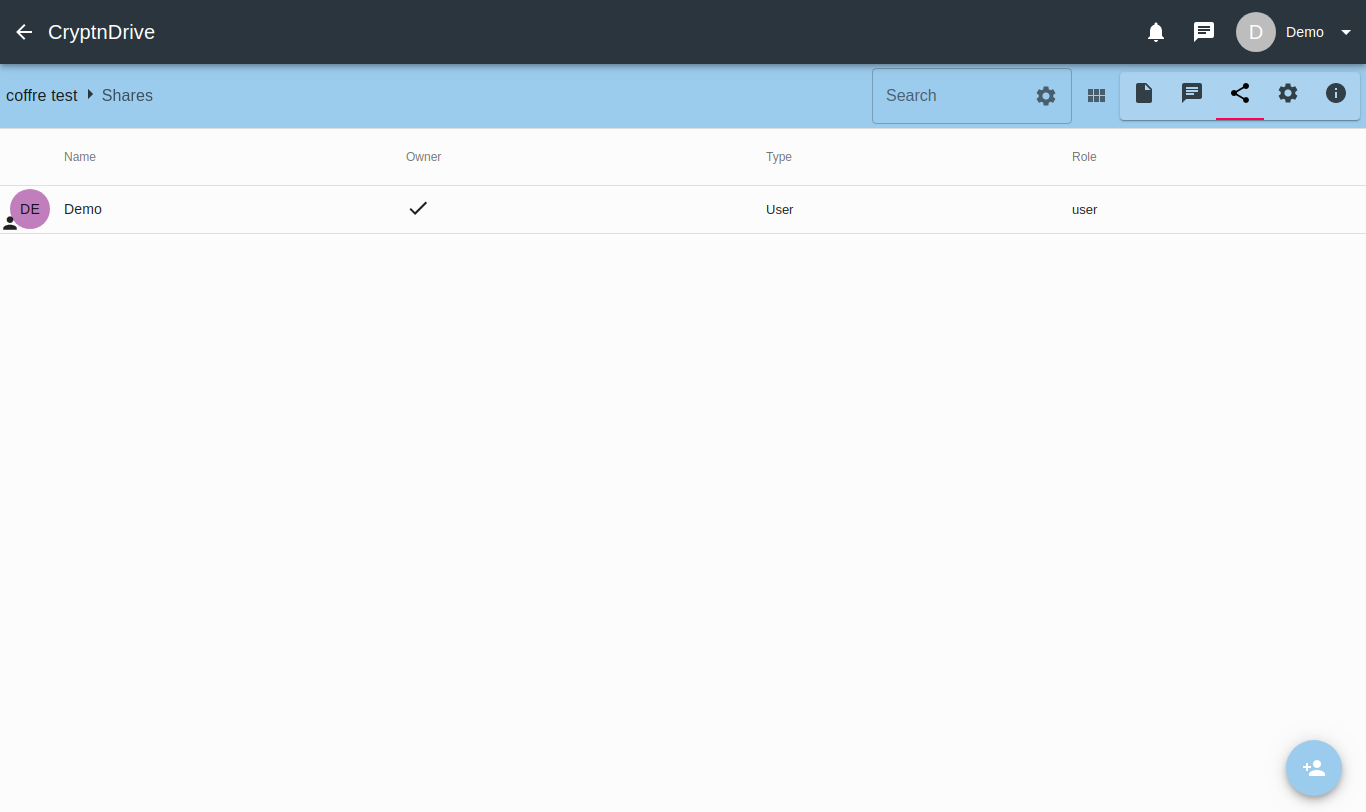
You can see that the first person « in share" is yourself, that you are informed as the owner of the vault.
You have to click on the add users button ![]() . This will bring up the following dialog box where you can either enter an email address or select users already in the system.
. This will bring up the following dialog box where you can either enter an email address or select users already in the system.

The sharer view
Selecting third parties for sharing and writing personalized email
In the section dedicated to find/add share, you just have to search and select the third party with whom you wish to share the contents of this vault.
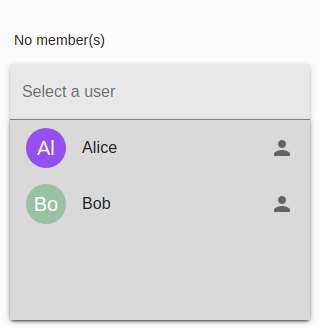
It can happen that several people have the same first and last names, for this, you can click on the icon next to the name (![]() ) which will allow you to display the contact's details, check his email address and share it with the right person.
) which will allow you to display the contact's details, check his email address and share it with the right person.
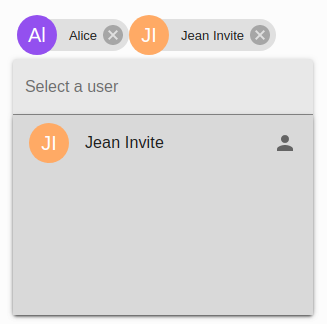
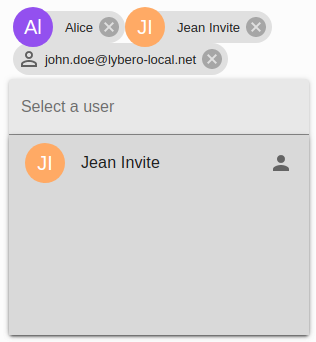
So by clicking on the user, you add him to the future share, you can also select several people at the same time:
In case the person you wish to invite is not in your list, you can simply add him/her by entering his/her email address in the "select a user" field as follows:
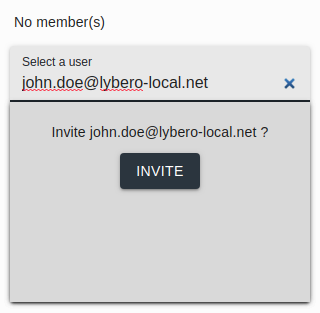
Then click on the "invite" button to validate your choice and the added address appears in the list of users to invite.
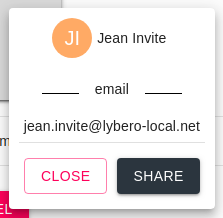
You can then create from the interface a common message to invite these people to share by clicking on the button "send a personalized email", a new section will then appear allowing you to customize the subject of the email, to send a copy to yourself and finally to customize the message:
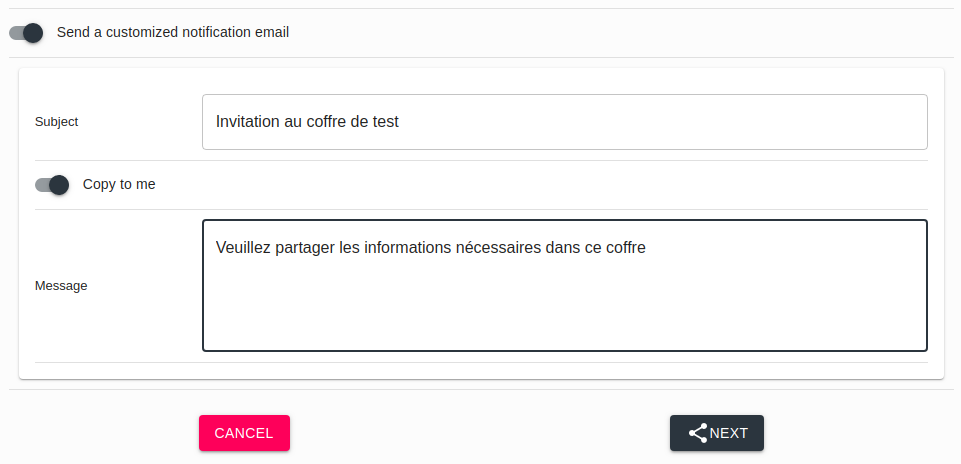
Validate your choices by clicking on next and you will be taken to the rights selection window.
Sélection des droits pour le partage
So here you are in front of this screen :

This is where you will define the rights for the users you will share the vault. If you make a mistake in the rights at this point, you can reverse your choices at any time and limit the rights on this vault per user.
If you do not select any rights in this window, the user(s) you invite will only be able to view the files using the built-in viewer and nothing else.
So the rights are these:
- All: gives all the rights below
- Download (the files)
- Add or modify files
- Add or modify comments: without this right, users can view comments, but do not have the ability to add or modify them.
- Share the vault (as you are doing now)
- See the logs
You may change these rights at any time. Just go to the shares tab (![]() ) then click on the user whose rights you want to change (
) then click on the user whose rights you want to change (![]() ). Be aware that as the owner of the vault, you have all these rights and that no one other than the administrator (by deleting your account) can revoke these rights. You can also later remove a person from the share by right-clicking on this user to bring up the context menu and click on "remove" (
). Be aware that as the owner of the vault, you have all these rights and that no one other than the administrator (by deleting your account) can revoke these rights. You can also later remove a person from the share by right-clicking on this user to bring up the context menu and click on "remove" ( ).
).
Once again, you just have to validate your choices to return to the shares screen and see your new shares on this vault.
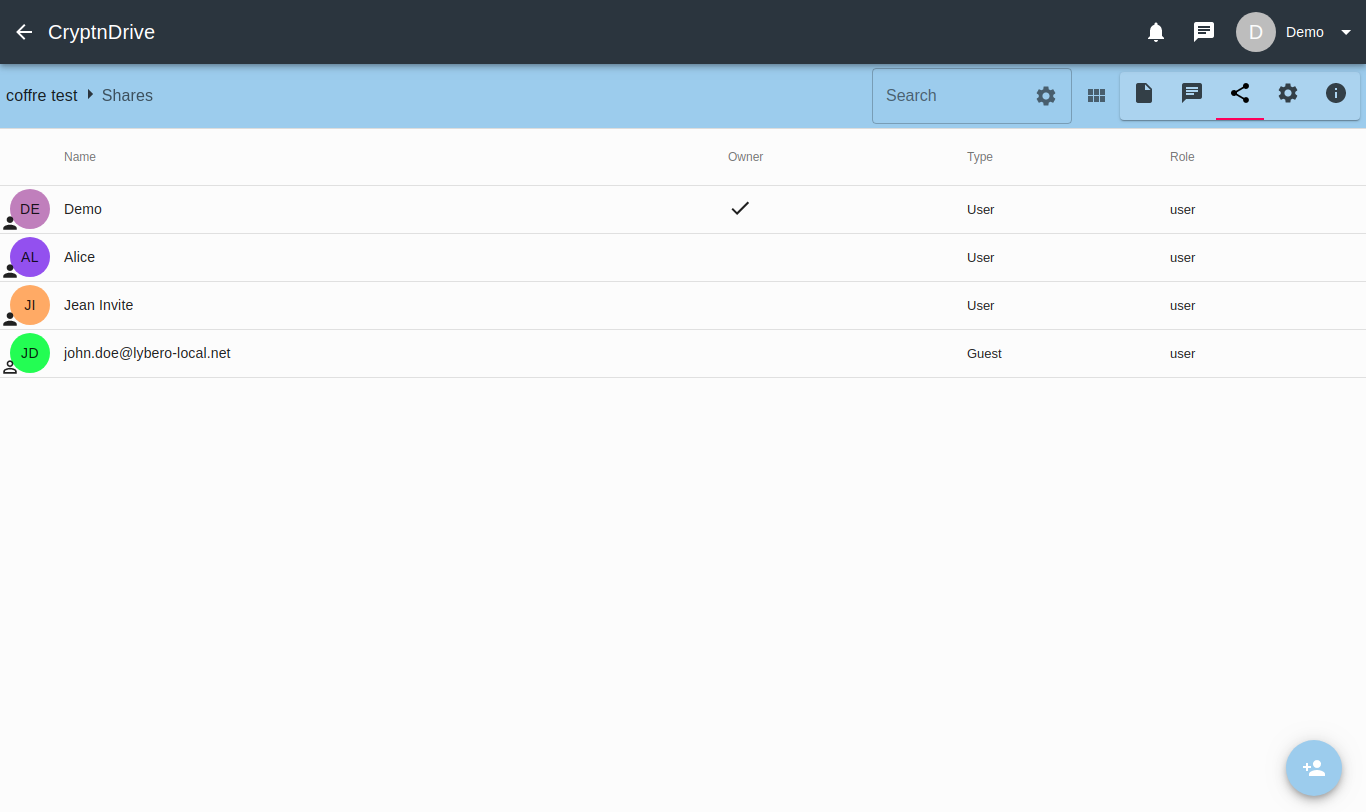
Send invitation to a user outside the organization
If you have just invited someone outside the organization, you will see a different user badge in the vault shares (![]() ) which tells you that this user has not yet been validated.
) which tells you that this user has not yet been validated.
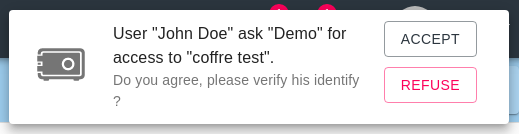
Once this user has validated his registration and connection steps, you will be asked to validate his access, an alert (![]() ) indicates that an action must be performed, in this case, if you click on this icon, the system will ask you to validate or deny access to the vault for the new user.
) indicates that an action must be performed, in this case, if you click on this icon, the system will ask you to validate or deny access to the vault for the new user.
 .
You then see that the badge (
.
You then see that the badge (![]() ) of the share view has changed to mean that the guest can access the vault normally.
) of the share view has changed to mean that the guest can access the vault normally.
Guest view
On the guest side, the user (once invited), receives an email inviting him to follow a link to create an account and access the files.
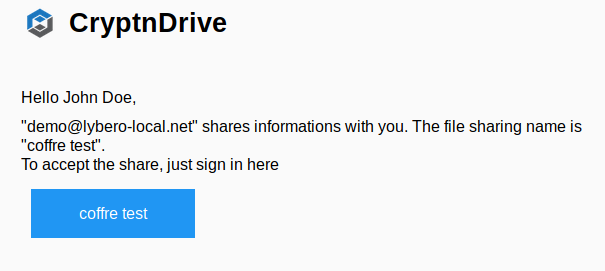
If the invited person is already known, by following this link, he or she arrives immediately after his or her connection to the safe's file window.
In the case that this person is not known to the organization, he or she arrives (following the link received) at the registration page.
Once the classic steps of a registration have been completed, he or she can then connect to the application
Rather than direct access to the files, the special status of guest who is not a member of the organization (i.e. not registered), requires a final step as shown in the following screen:
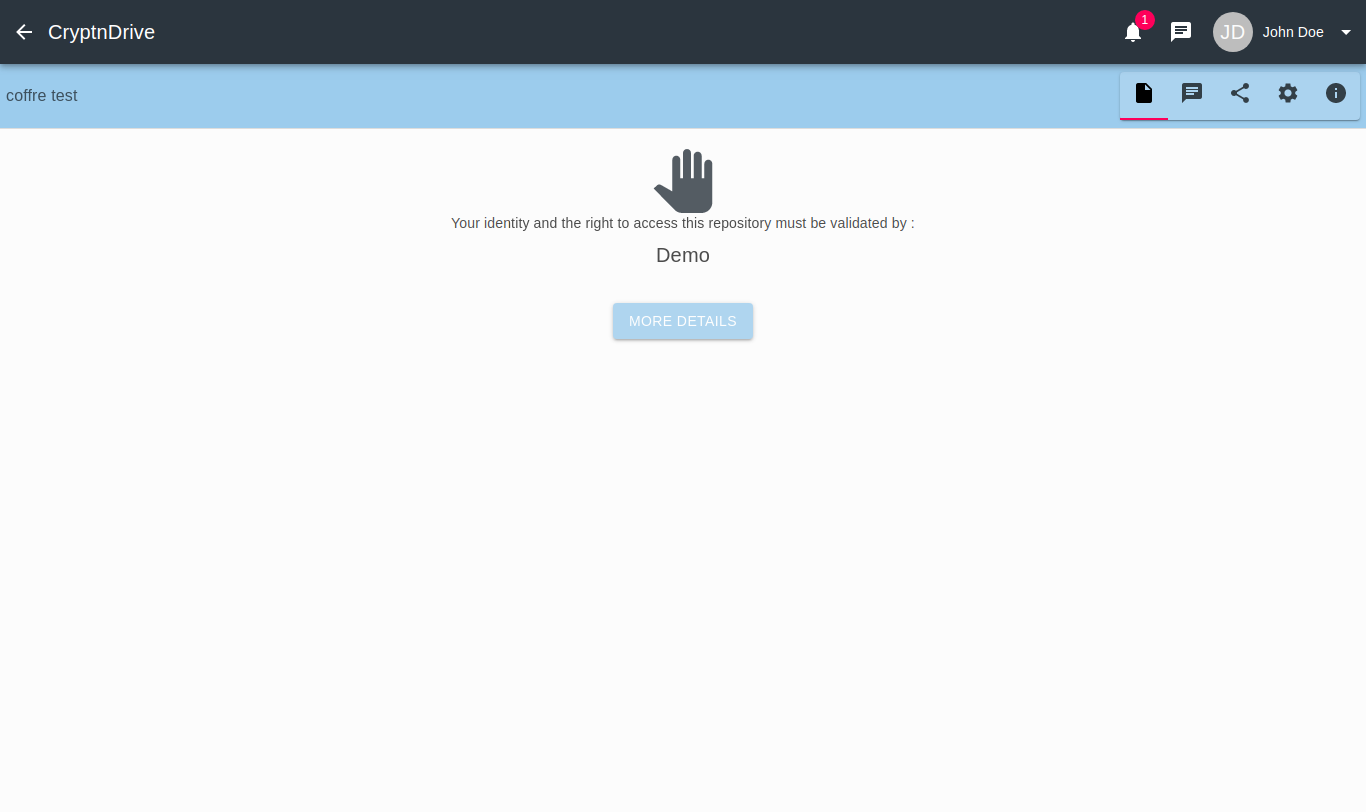 .
.
The identity of this guest must be validated by the sharer.
Once the sharer has validated this step, the screen changes to this one
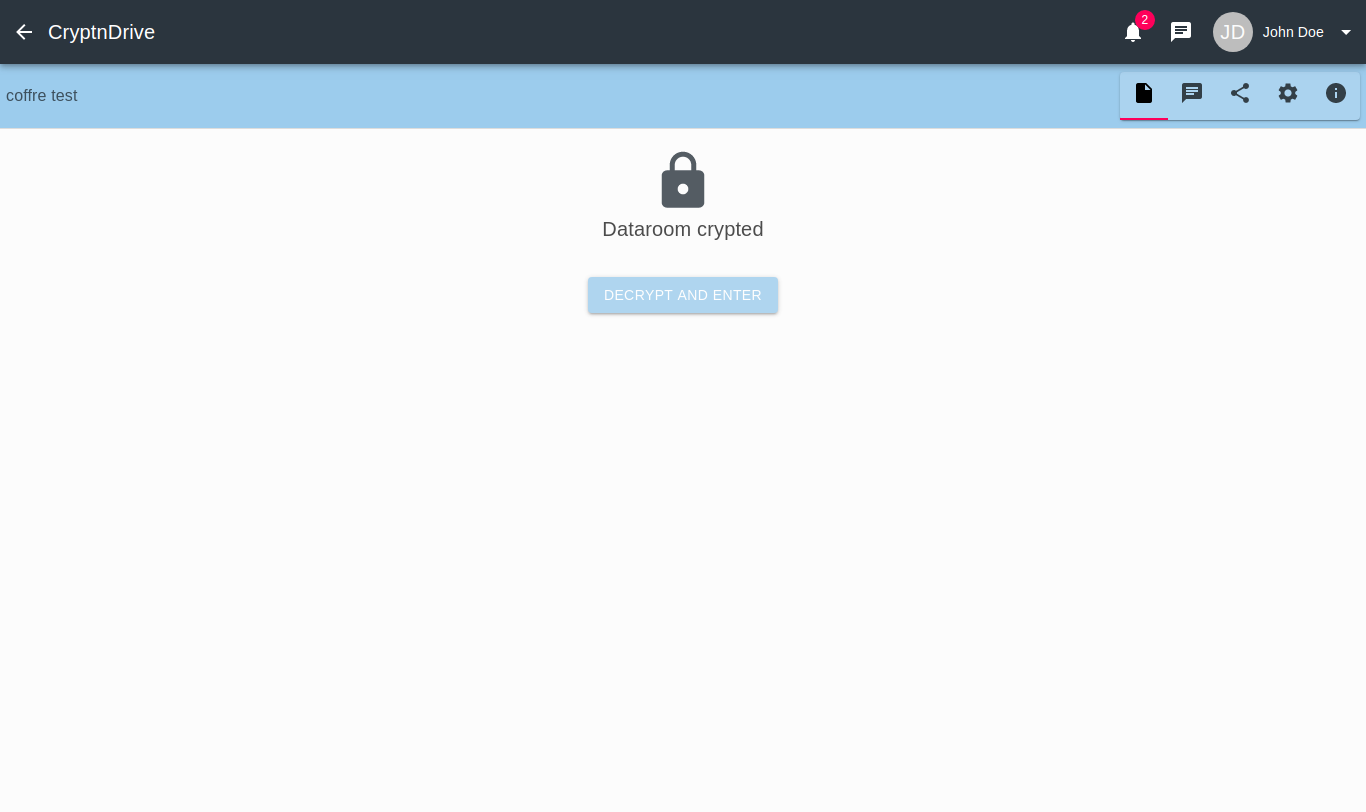
Then, after a click on the "Decrypt and enter" button, the classic file viewing screen appears
These many steps can appears too much, but they are necessary for 2 reasons: all encryption/decryption operations are done in the browser. The sender must therefore be able to encrypt the safe with the recipient's public key. This key must exists. The second reason is that the recipient is not yet in the system, if the mail is intercepted a third party could pretend to be the recipient. At the time of final acceptance, the sender has the opportunity to verify (by telephone for example) that the recipient has logged in.
For users already in the system, this precaution is not necessary, since their public key is available.
Invite a third party to upload files to me
It is possible for a non-registered user (the provider) in the system to send files and text to a registered person (the recipient) in encrypted form. To do this, the recipient will provide the provider with an invitation typically via email or other means.
Url creation
In order to generate the url, just go to the root of the application (main menu (![]() ) then vaults (
) then vaults (![]() )) or in any other vaults directory and use the quick menu (bottom right ()) then click on the url creation icon (
)) or in any other vaults directory and use the quick menu (bottom right ()) then click on the url creation icon (![]() ). You will then be in front of the next screen :
). You will then be in front of the next screen :
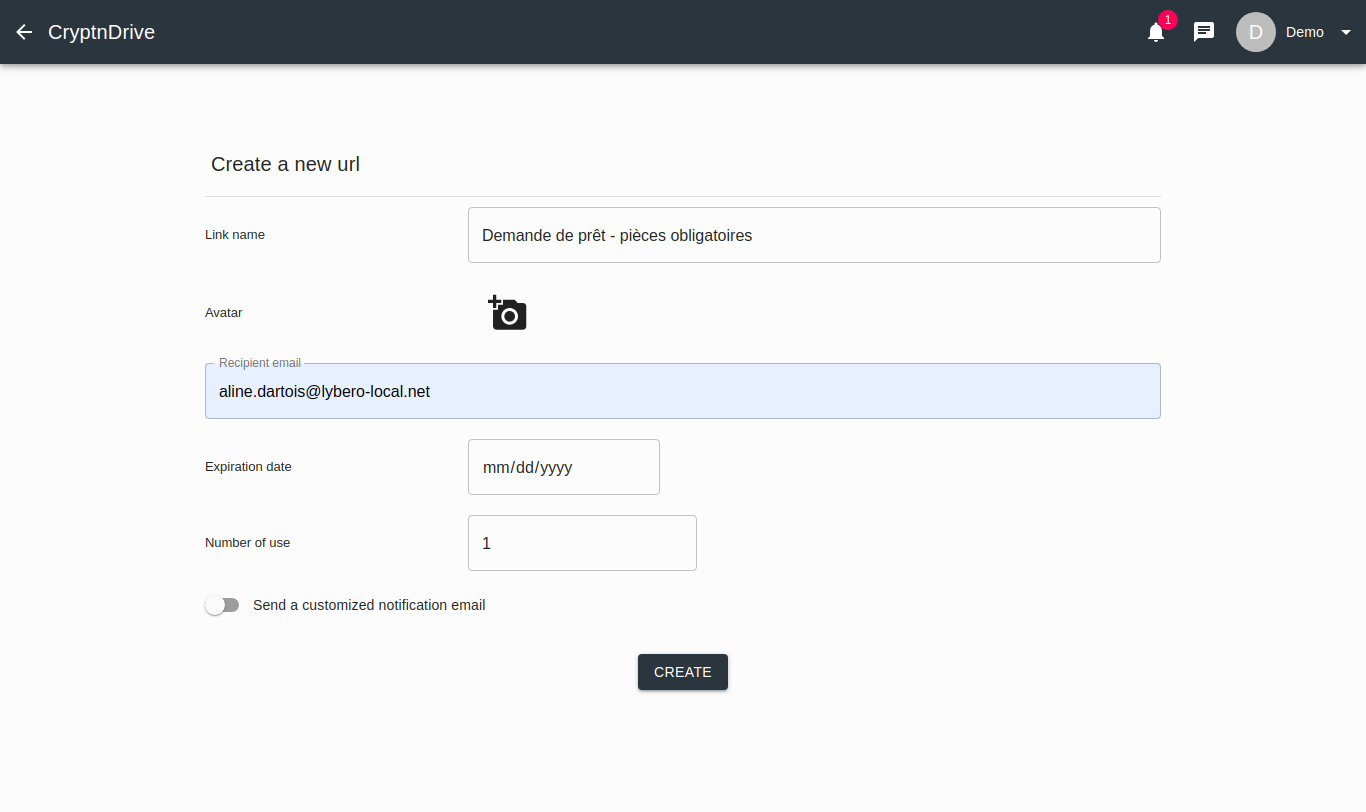 .
.
Creating an url allows you in order to :
- Give a name to your url (required)
- Change the avatar of this url (optional) :
- This icon will only be visible to you
- Specify an email address (optional):
- There are several ways to share the link that will result from the url creation, you can use your communication channels to transmit it or let Lybero mail server send an email directly to your recipient.
- Set an url expiration date (optional)
- A maximum number of uses (only 1 use by default):
- An url to drop files can be used several times if necessary
- Activate personalized email (optional):
- If you have entered an email address in the field provided for this purpose, you will be able to write a subject and a personalized message while taking advantage of the automatic sending by the application.
Once you have completed the information, you will only have to validate with the "create" button.
If you have entered an email address, the application will send your invitation to the recipient. If not, a new window will appear, offering you to copy the link to send it through your own channels:
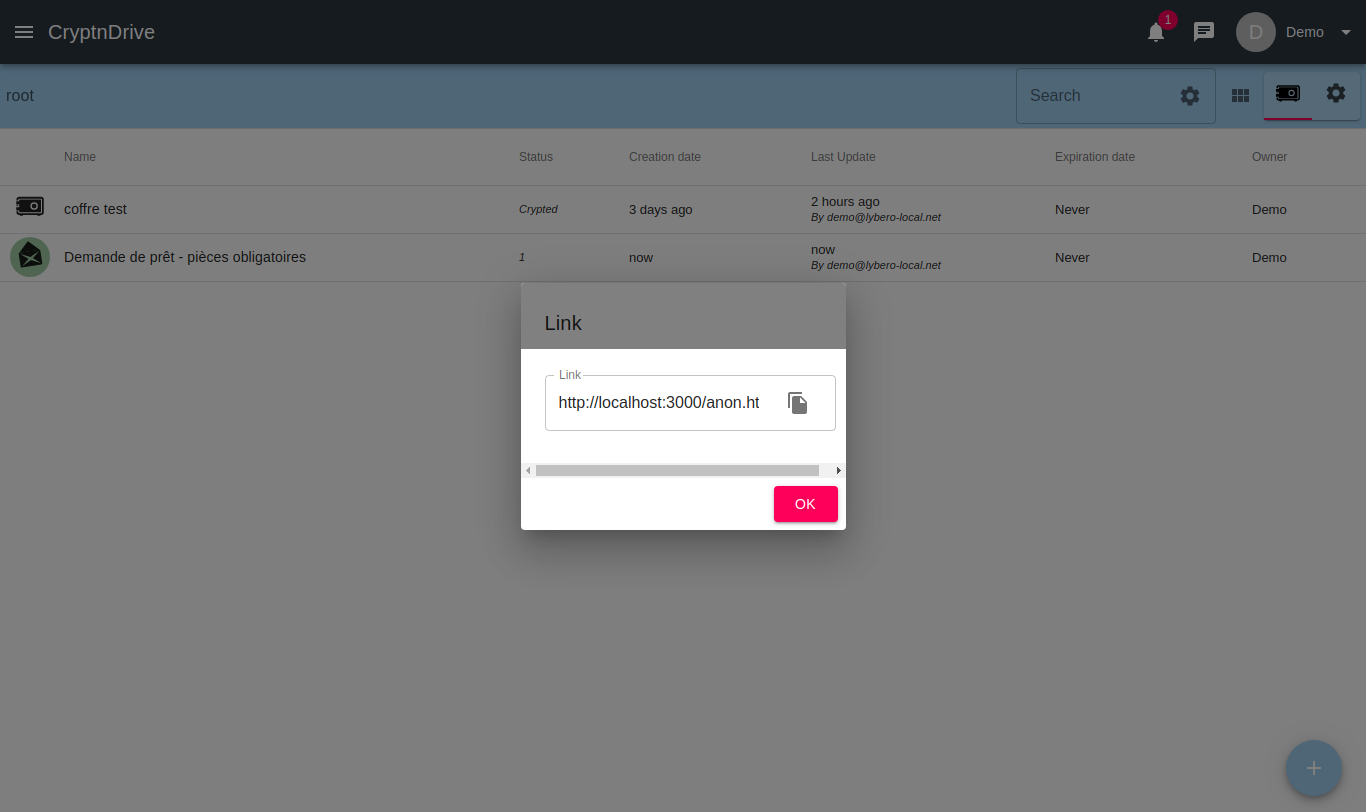 .
.
Whether or not you have specified an email address, you will find your url in your list of vaults because your url is in a kind of "stand by » state that will become a safe with content once the url has been consumed.
Receipt and use of an url, by the provider.
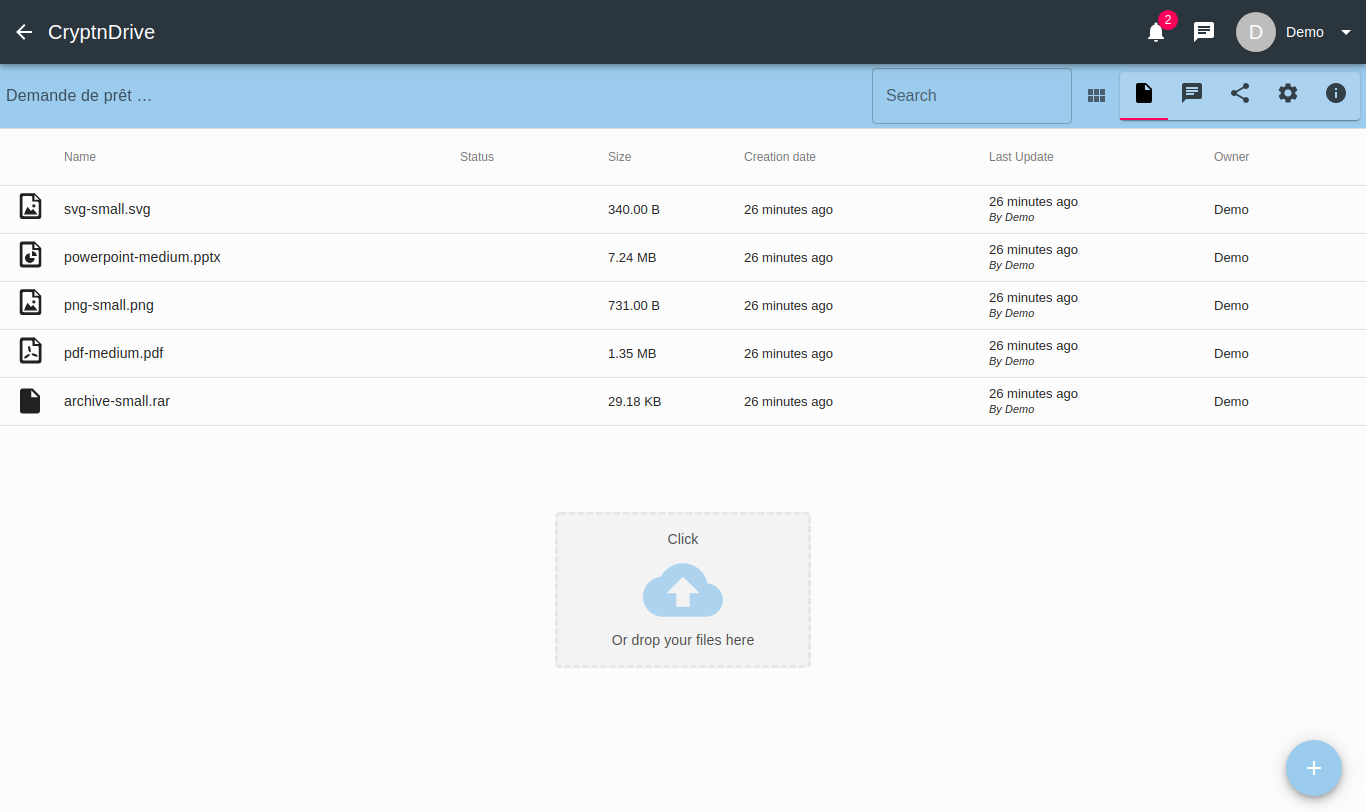
By clicking on the received link, the provider arrives on this page which allows him to upload files.
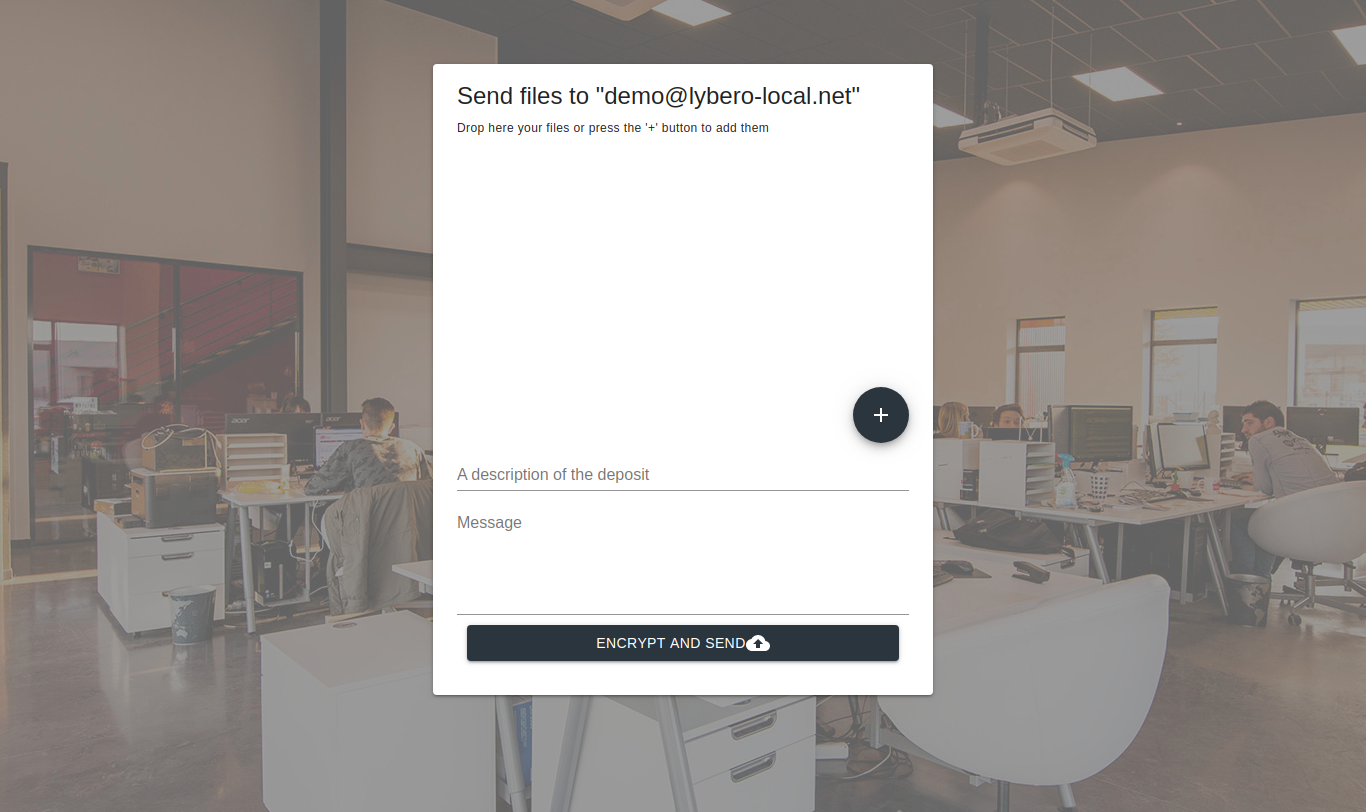
This action can be done in two ways, by dragging and dropping files directly from the explorer or by clicking on the button (![]() ).
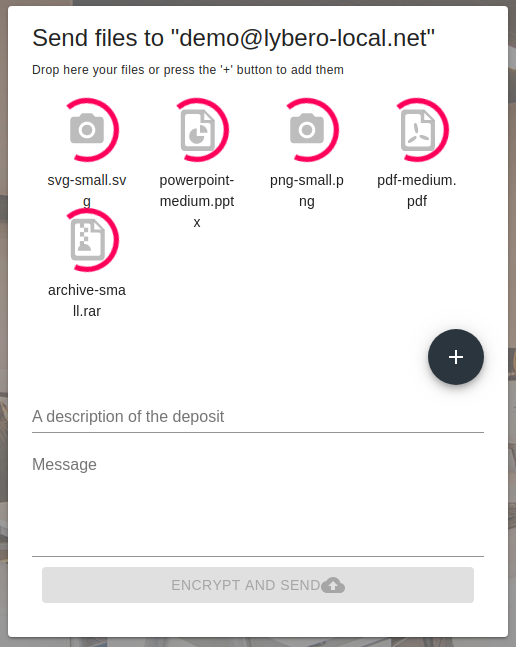
Once the files have been added, the provider can add a message to the recipient.
All that is left to do is click on the "Encrypt and send" button (! encrypt and send files button).
).
Once the files have been added, the provider can add a message to the recipient.
All that is left to do is click on the "Encrypt and send" button (! encrypt and send files button).
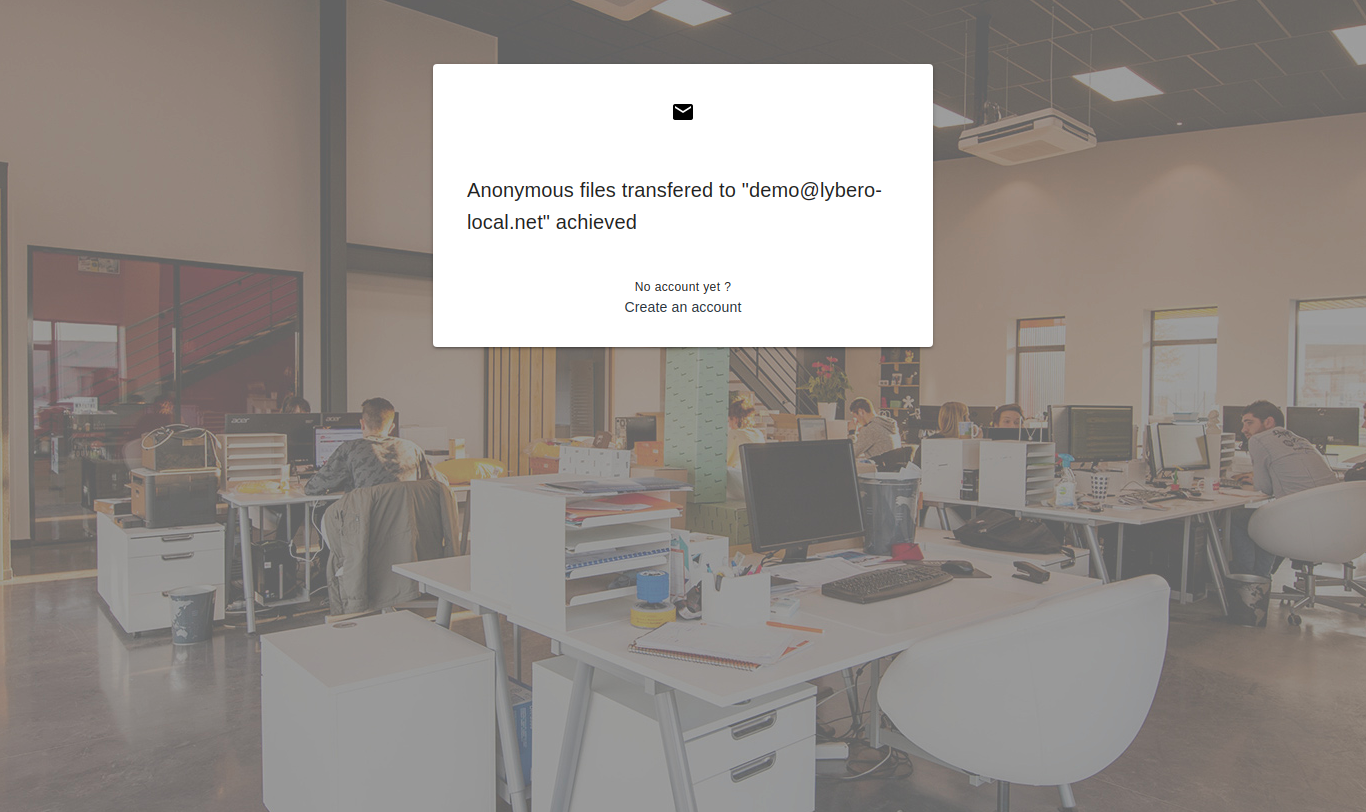
Once clicked, the files are encrypted with the recipient's public key so that only the recipient can decrypt the data.
The operation on the provider side is now complete.
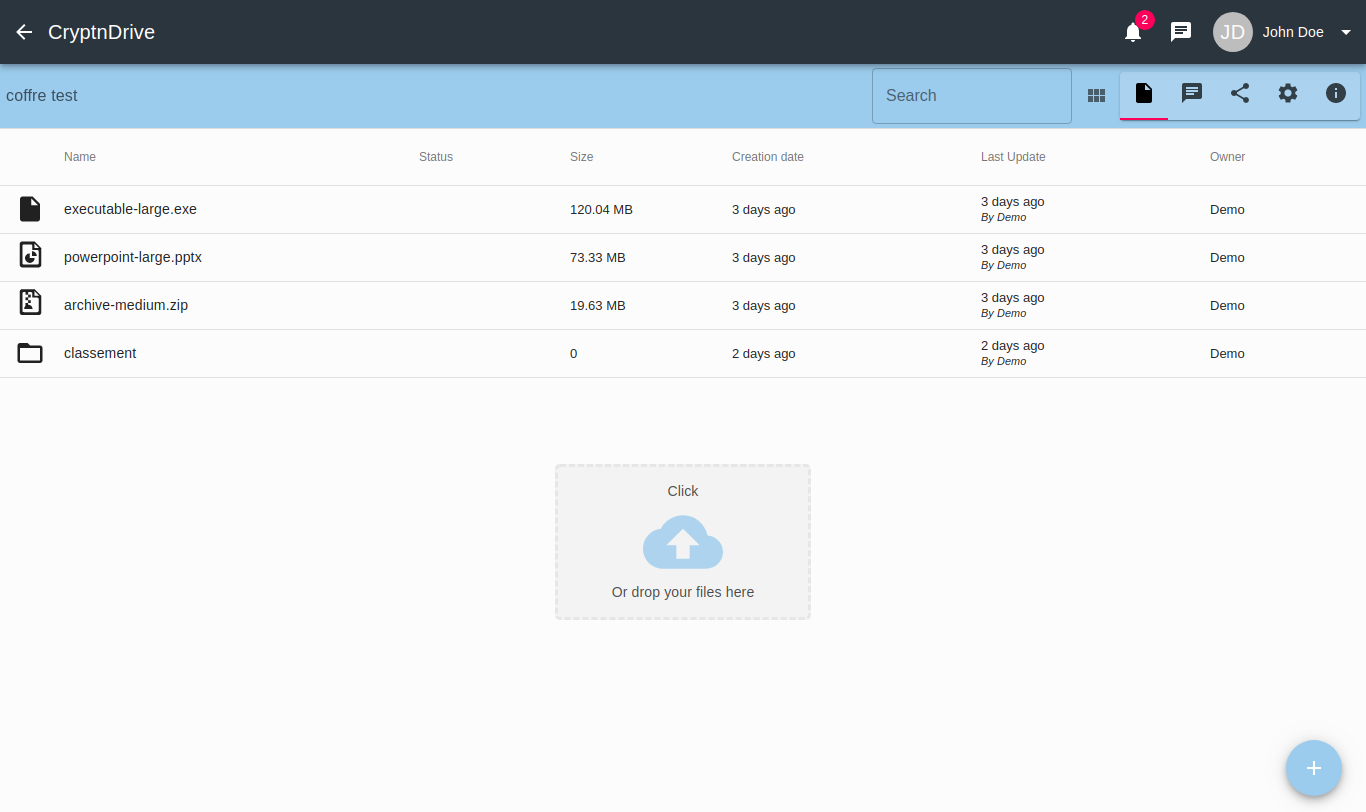
Receipt of files by the recipient.
On the recipient side, the invitation (which has just been consumed by the provider) has been transformed into a "real" encrypted vault.

Which then includes all the files sent by the provider.
Organization with vault folders
In order to best organize your vaults and urls according to your needs, we have set up a system of vaults folders, in which you will be able to create vaults, urls and/or move vaults, urls. To do so, we will start by creating a vault folder.
![]() Vault folder can't contain files, only vaults offer this possibility!
Vault folder can't contain files, only vaults offer this possibility!
vault folder creation
To start, go to the general view of the vaults using the main menu (![]() ) and then the vaults button (
) and then the vaults button (![]() ).
).
Then use the quick menu button() and then the vault folder creation button (![]() ).
).
A dialog box will allow you to enter a name for this new folder.
 .
.
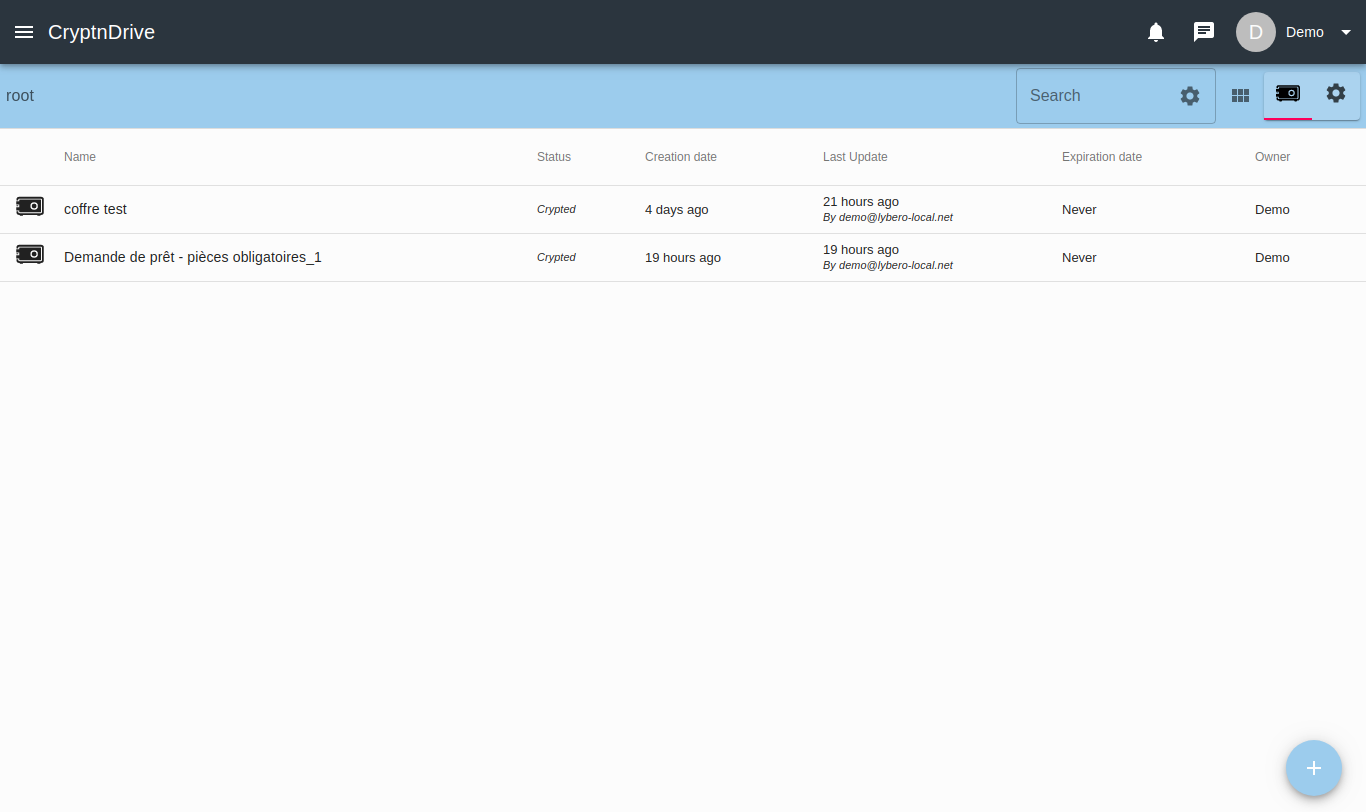
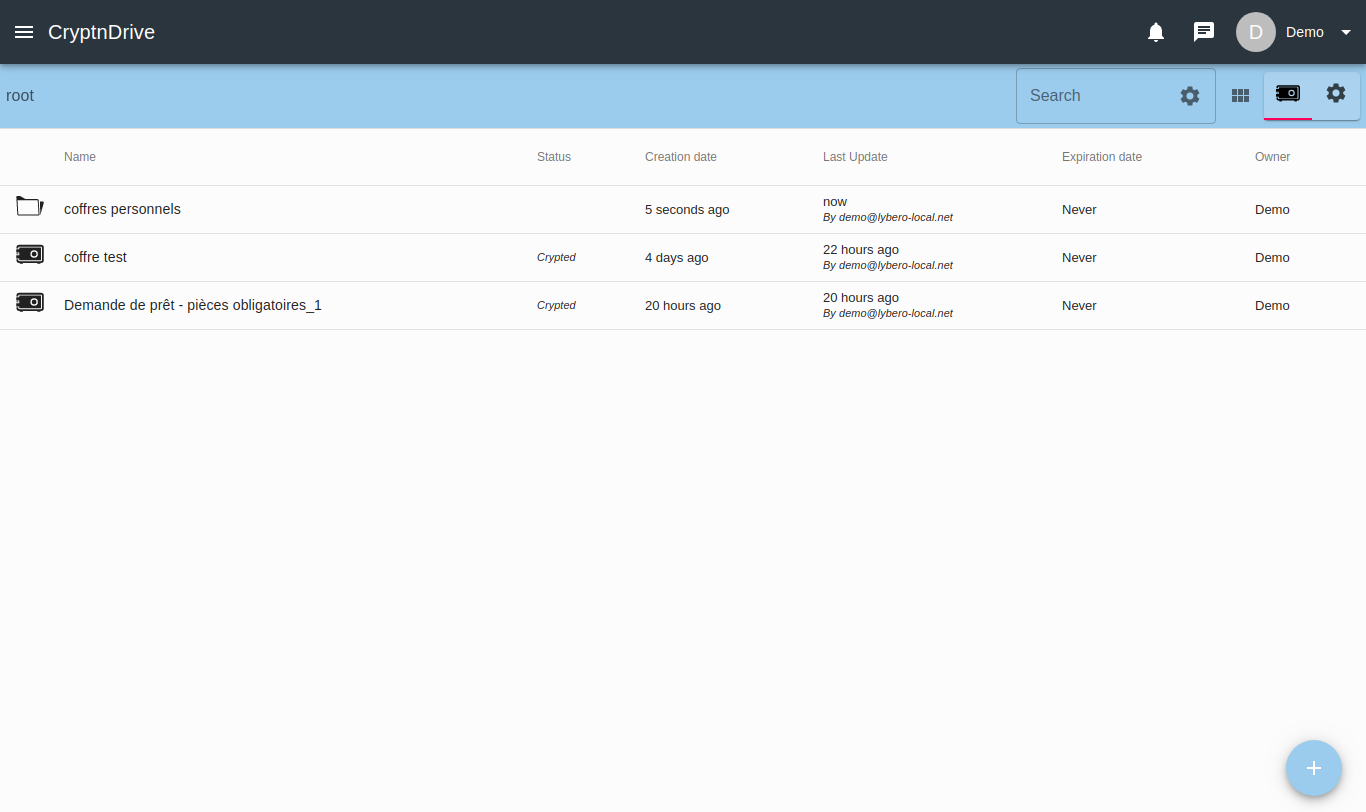
Once the name is entered a click on the "create" button will close this dialog box and make your vault folder appear.
Moving an object to a vault folder
Vaults folders can contain :
- Vaults,
- urls,
- other vault folders.
In order to move one of these items into a vault folder, simply right-click on that item and click the "move" button.

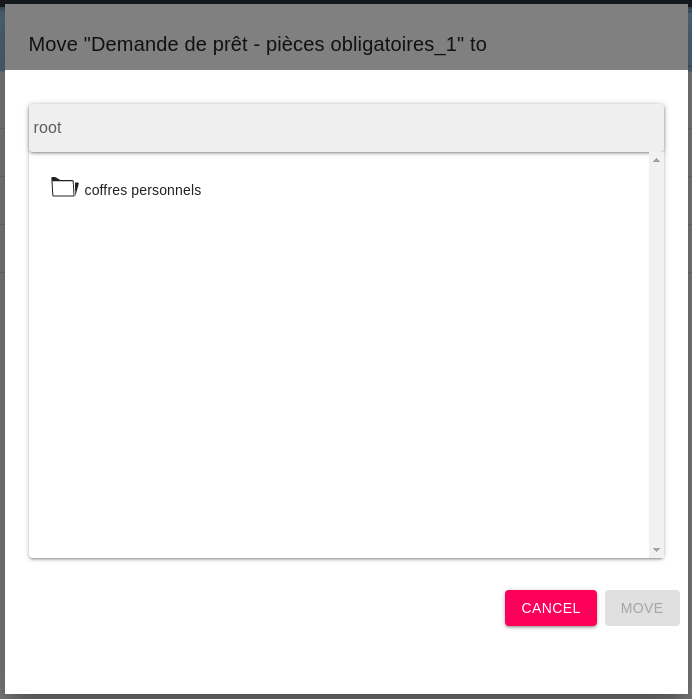
This action will show a screen in wich you can navigate to where you want to move your item.
 .
.
You will notice at the top left of this dialog box, the path to your destination folder, through which you can go back to a previous location or even to the root of the application. Once you have chosen your destination, simply click on the "move" button and your item will be moved.
Vaults folder propterties
In order to access the vault folder properties, you must be in a vault folders.
![]() The application root is itself a vault folder called "root".
The application root is itself a vault folder called "root".
Then, in the upper toolbar, click on the properties tab (![]() ).
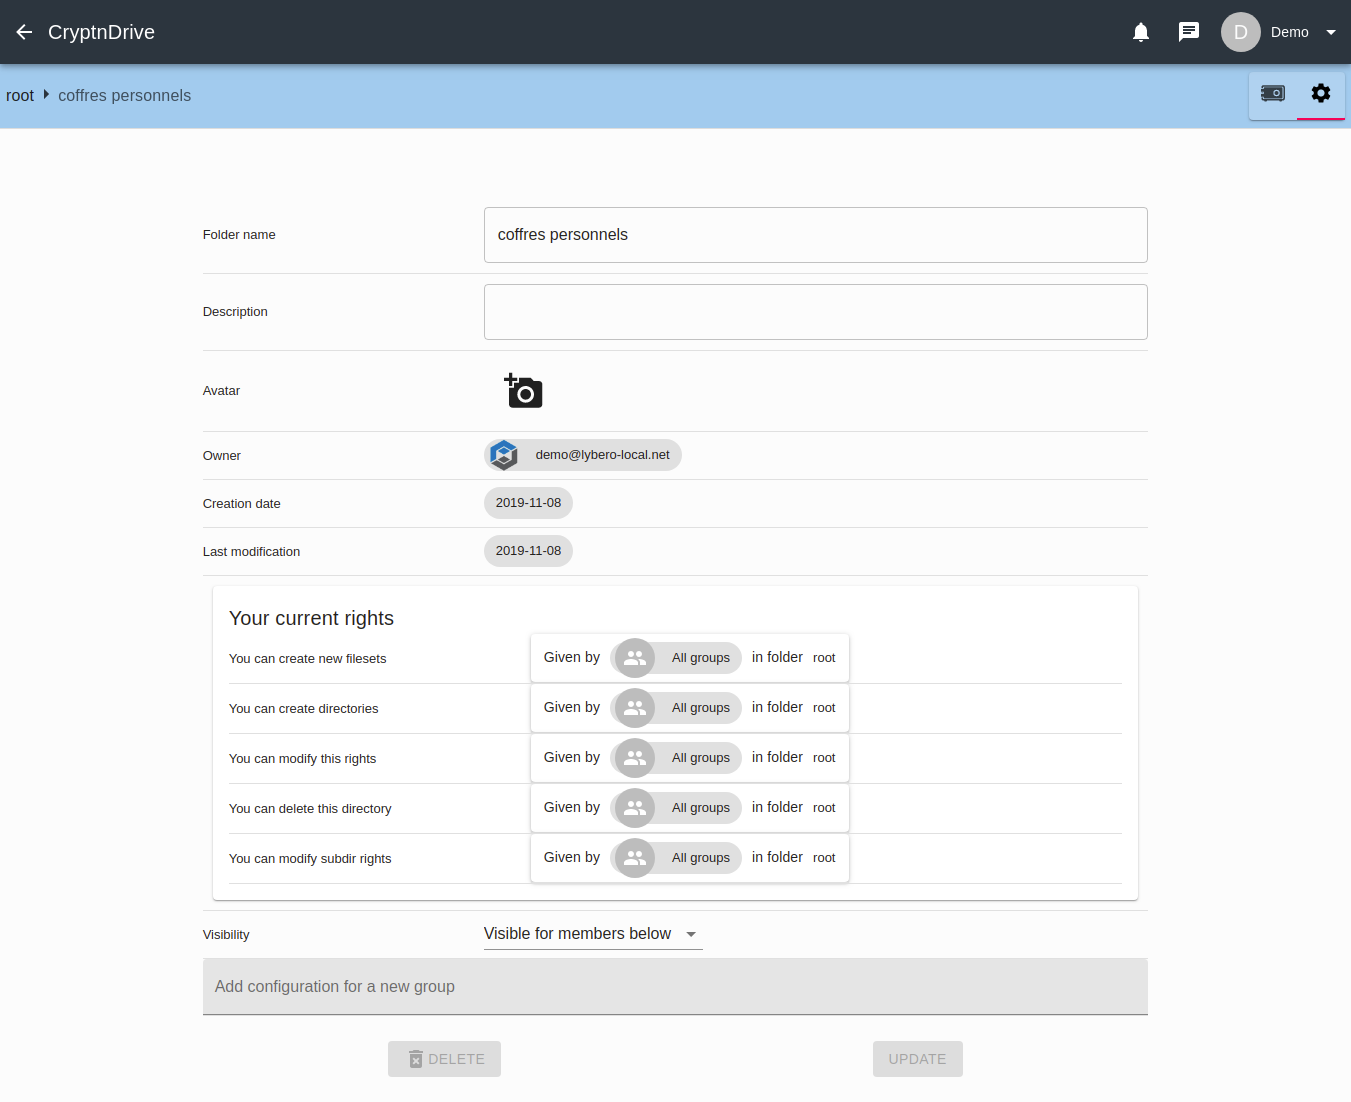
You are now in front of the properties of the vault folder.
).
You are now in front of the properties of the vault folder.
 .
.
You will find in order the possibilities of :
- Change the name of the vault folder,
- change the description,
- change the avatar,
- see the owner,
- know the creation date,
- know your rights to this vault folder,
- change the visibility,
- Add, delete or modify rights
Your rights on the vaults folders
As seen previously, you can, in the properties of a vault folder, check your rights for it.
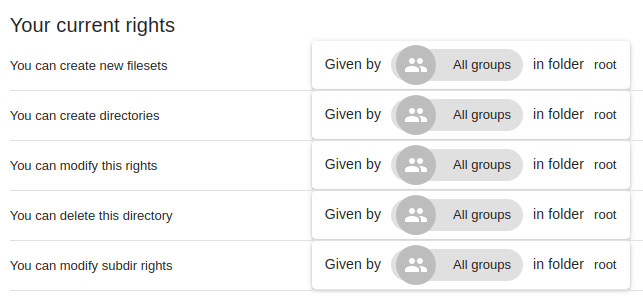
These rights are:
- You can create new safes
- You can create new vault folders
- You can change these rights
- You can delete this directory
- You can change the rights of subfolders
![]() Unless explicitly stated otherwise, your rights are extended to folders (e.g. a folder 1 which contains two folders 1.1 and 1.2, if you are granted the right to create vaults in folder 1, you will also enjoy this right in folders 1.1 and 1.2).
Unless explicitly stated otherwise, your rights are extended to folders (e.g. a folder 1 which contains two folders 1.1 and 1.2, if you are granted the right to create vaults in folder 1, you will also enjoy this right in folders 1.1 and 1.2).
Notifications, alerts and private messages
Notifications
Notifications are all the system messages intended for you (creation of your account, target of a vault sharing, request for access by a third party, consumption of an url, etc.).
These notifications are accessible at any time thanks to the dedicated button (![]() ) at the top right of the interface which will bring you to this screen containing all the notifications.
) at the top right of the interface which will bring you to this screen containing all the notifications.
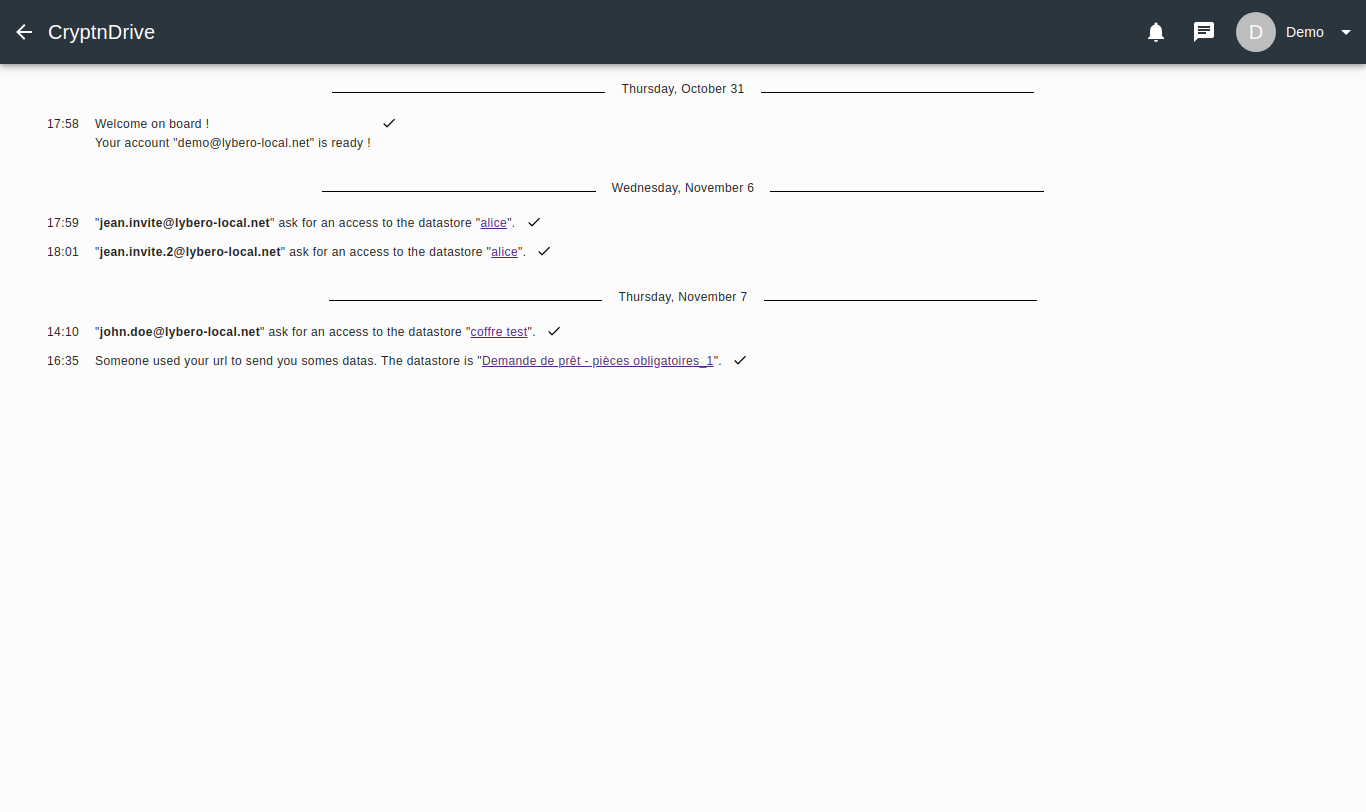
The notifications are there for information only, only the alerts ask for actions to be executed, as we will see.
Alerts
The alerts are therefore the actions that you must (can) execute at certain times in the life of the application such as accept a guest in a safe, validate access to a safe after a lost password (if you are part of a quorum group).
Private Messages
The application has its own encrypted messaging system, each message sent and received can only be decrypted and read by the people concerned.
To access the messagin system, click next to your account menu on the message icon (![]() ).
You will then arrive on this page :
).
You will then arrive on this page :
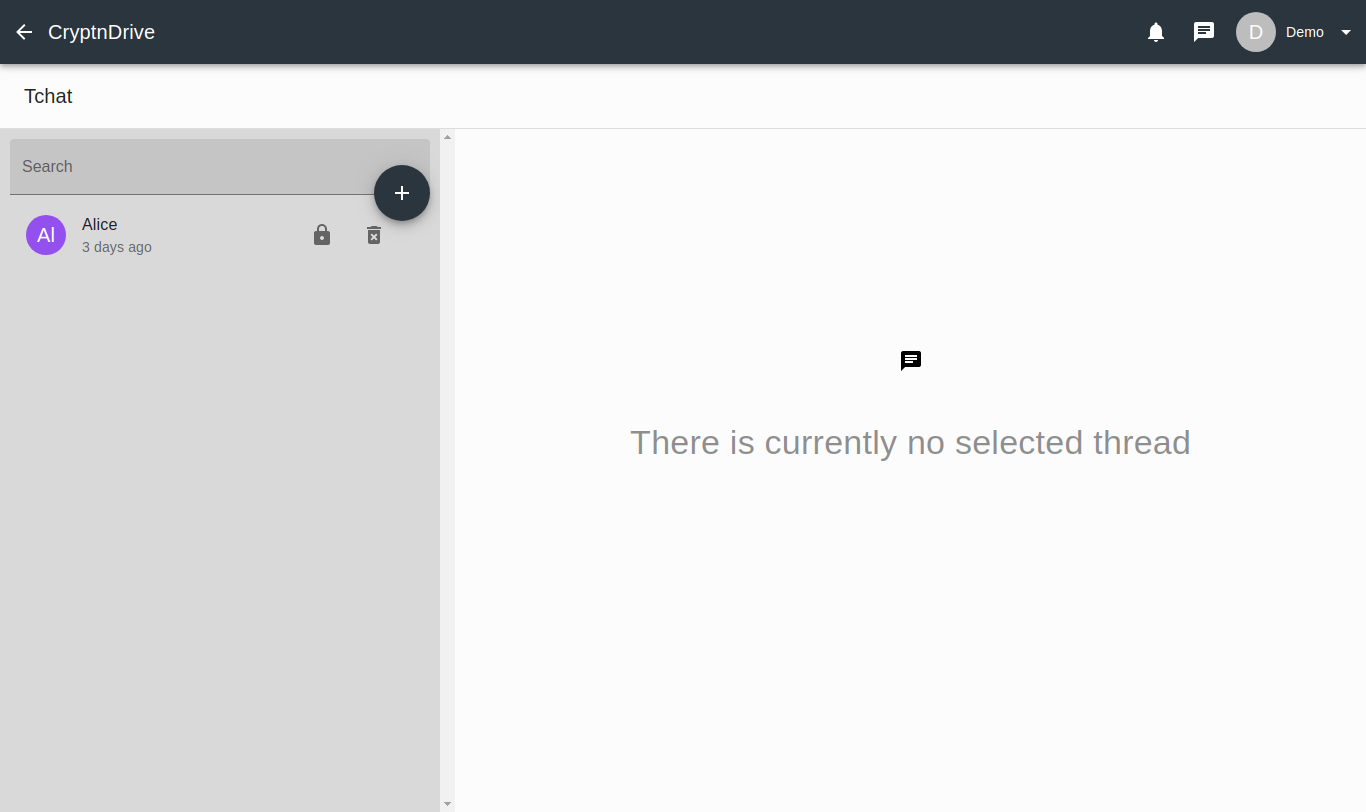
you can start a new exchange with the button (![]() ), a new screen will then offer you a list of users with whom you can exchange messages.
), a new screen will then offer you a list of users with whom you can exchange messages.
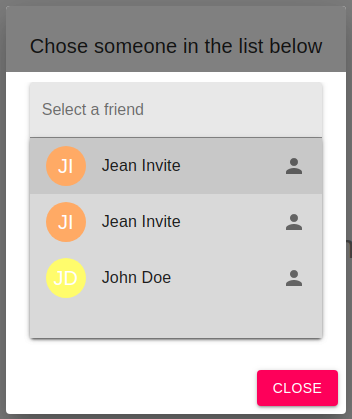
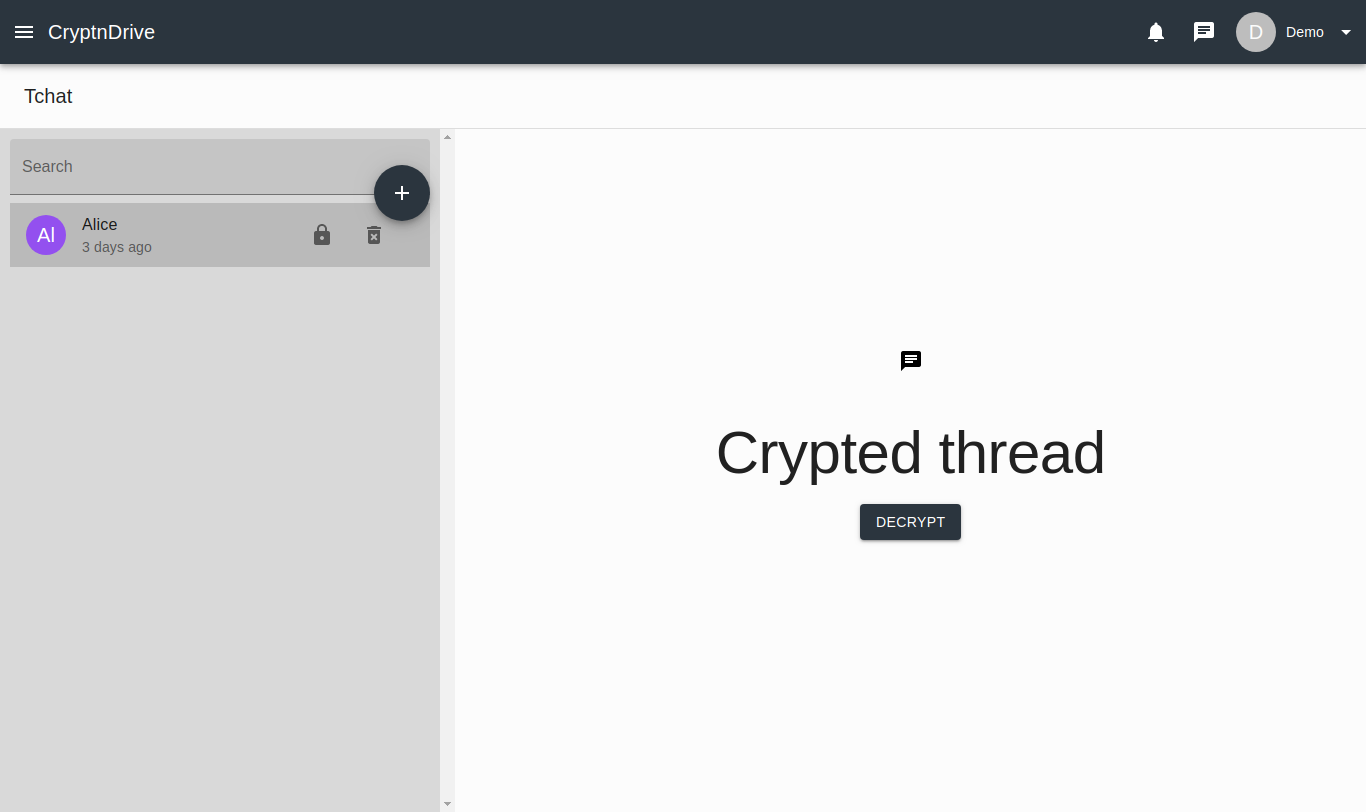
You can only exchange messages with trusted people you can find in your list of trusted relationships. You can then click on the created thread and you will have to perform the action of decrypting the thread.
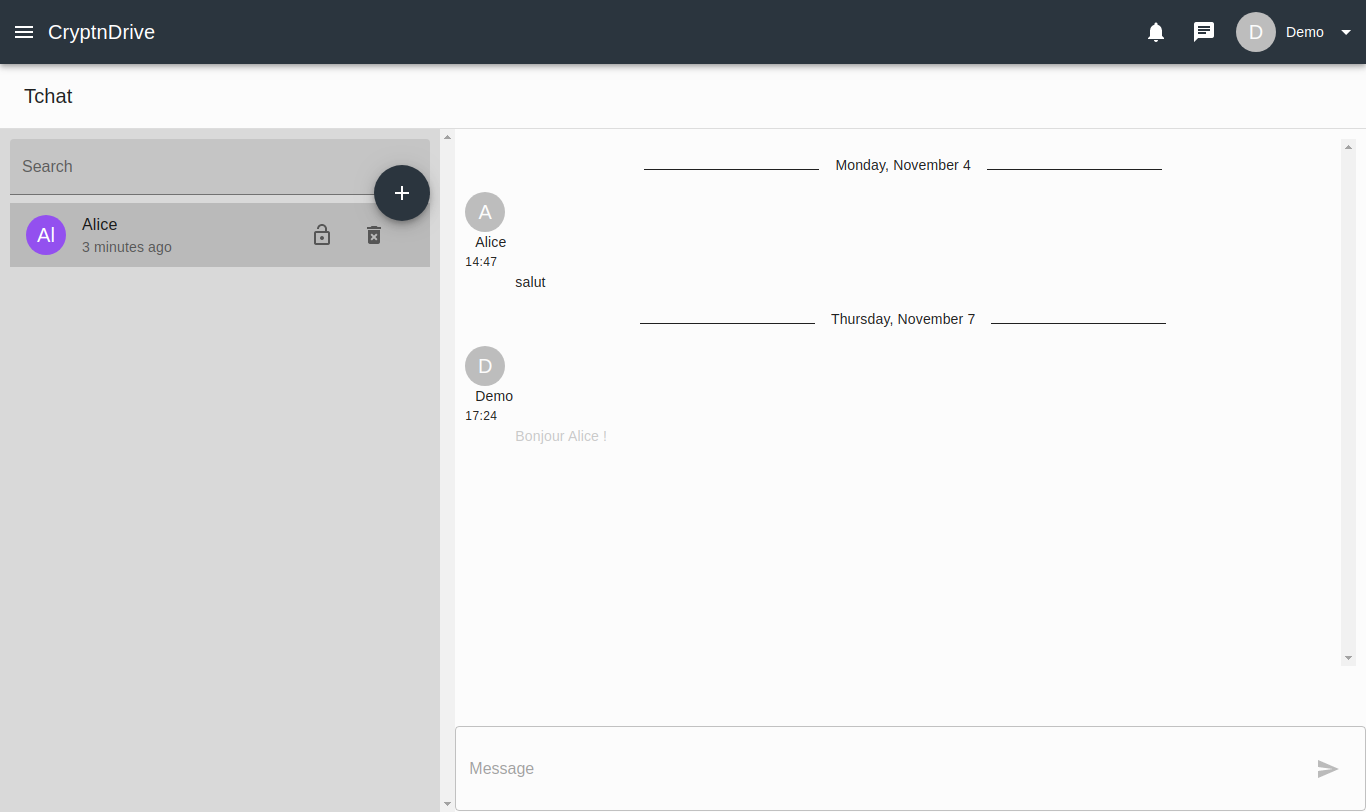
You will then find an area for writing the message at the bottom and a send button (![]() )
)
View selection
The view selection menu allows you to customize the display of the items you are viewing.
You can therefore :
- Switch from the list view to the icon view,
- switch to selection mode in order to select several items before an action (see dedicated section),
- change the display order of elements,
- if you are in the vault view, enable/disable viewing of vaults, vault directories, invitations,
- if you are part of a recovery quorum, whether or not to display the vaults on which you are part of the quorum only.
Multi-selection
You can right-click on an item to perform an action on it. The selection mode allows you to select several items before performing an action. Once you have activated the selection mode, the view selection button changes color to inform you when you enter the selection mode. You can then select an item with a simple click on it, which will be symbolized by a check mark on the item. Once you have made your selection, a right click on any element will display the list of actions available for all these elements. The possible actions are :
- Decryption in the case of a vault,
- moving,
- deletion
The displayed actions are calculated according to your selection. If an element of your does not allow deletion, this action will not appear. Same for deletion and decryption.
User menu tour
The user menu (![]() ) allows you to access some additional features.
) allows you to access some additional features.
The menu can be broken down as follows:
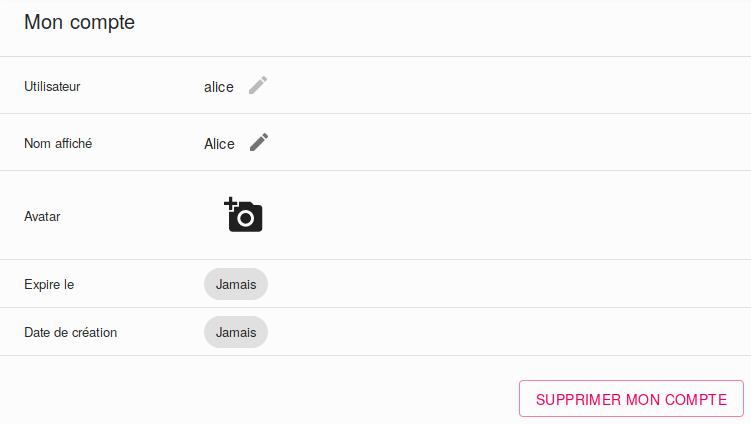
- My Account
- Allows you to view your account information (username, displayed name, displayed avatar, expiration date, creation date) and to change some of it (displayed name and avatar). You can also delete your account from this window.
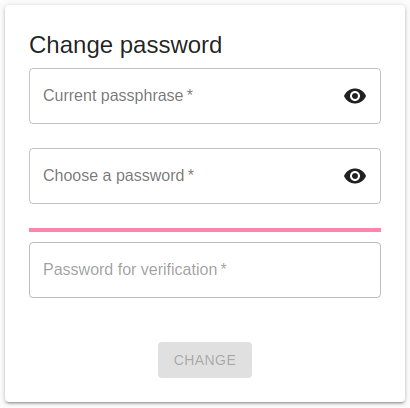
- My password
- This section allows you to change your password at any time, without losing your information.
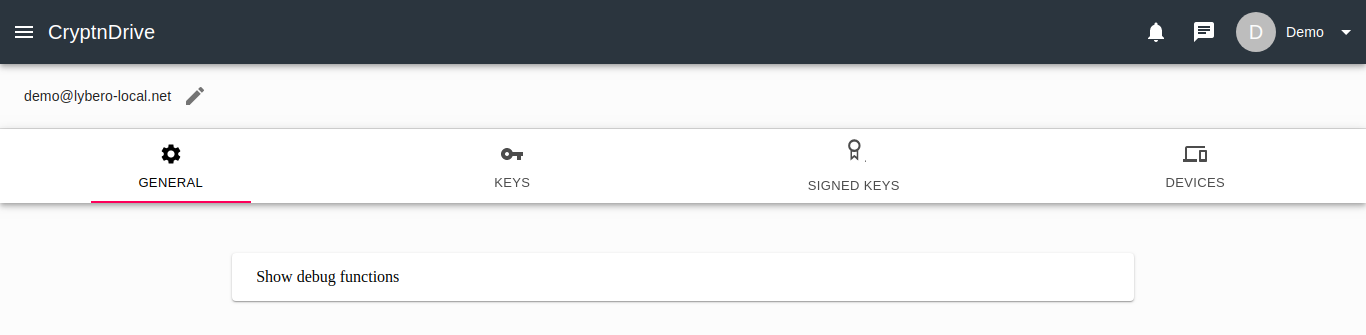
- My keys
- This menu contains your application's cryptographic data, as prompted by the message, we also invite you to treat this data with extreme care and go to the advanced user guide for more details.
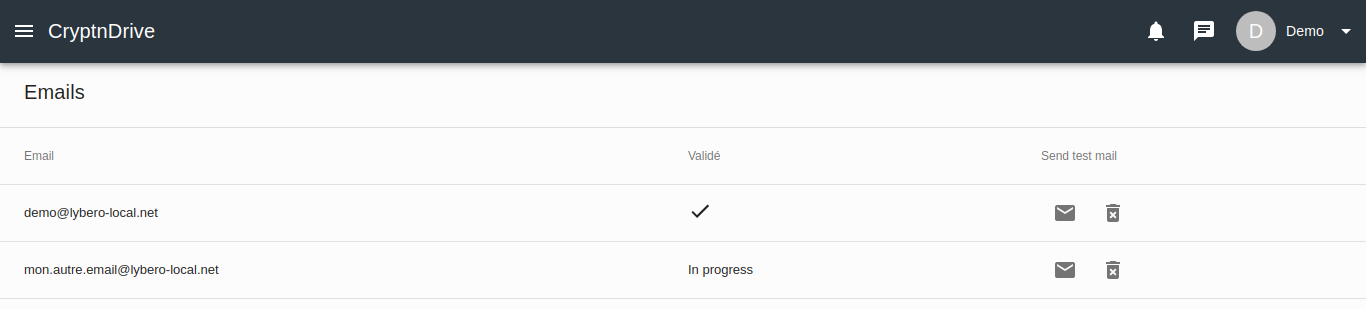
- My emails
- In this section you will be able to add / remove email addresses in the application (to allow you to receive the information).
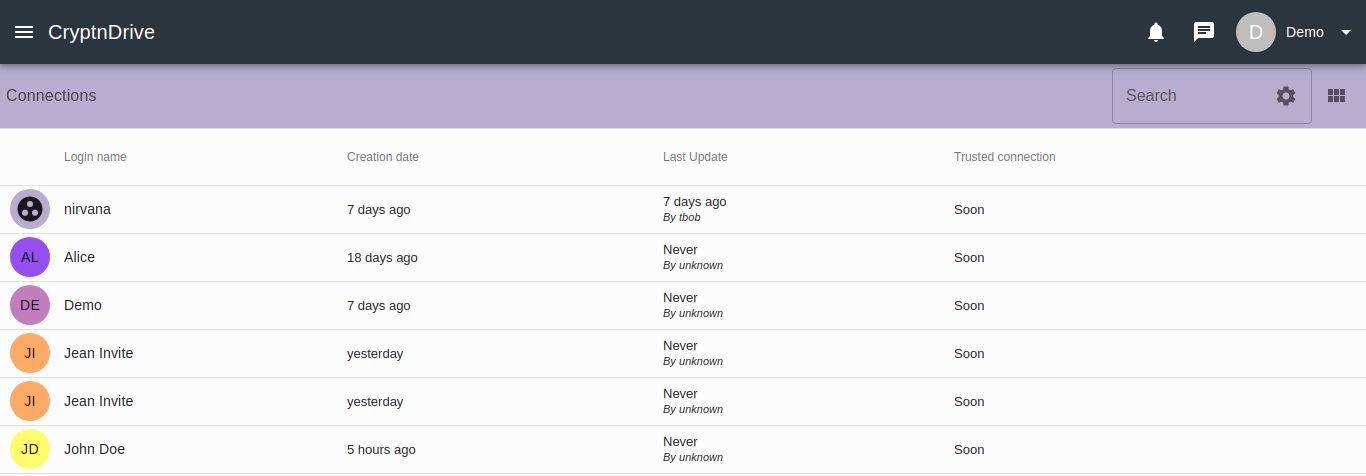
- My friends
- Here you can see all the users you have already exchanged through the vaults.
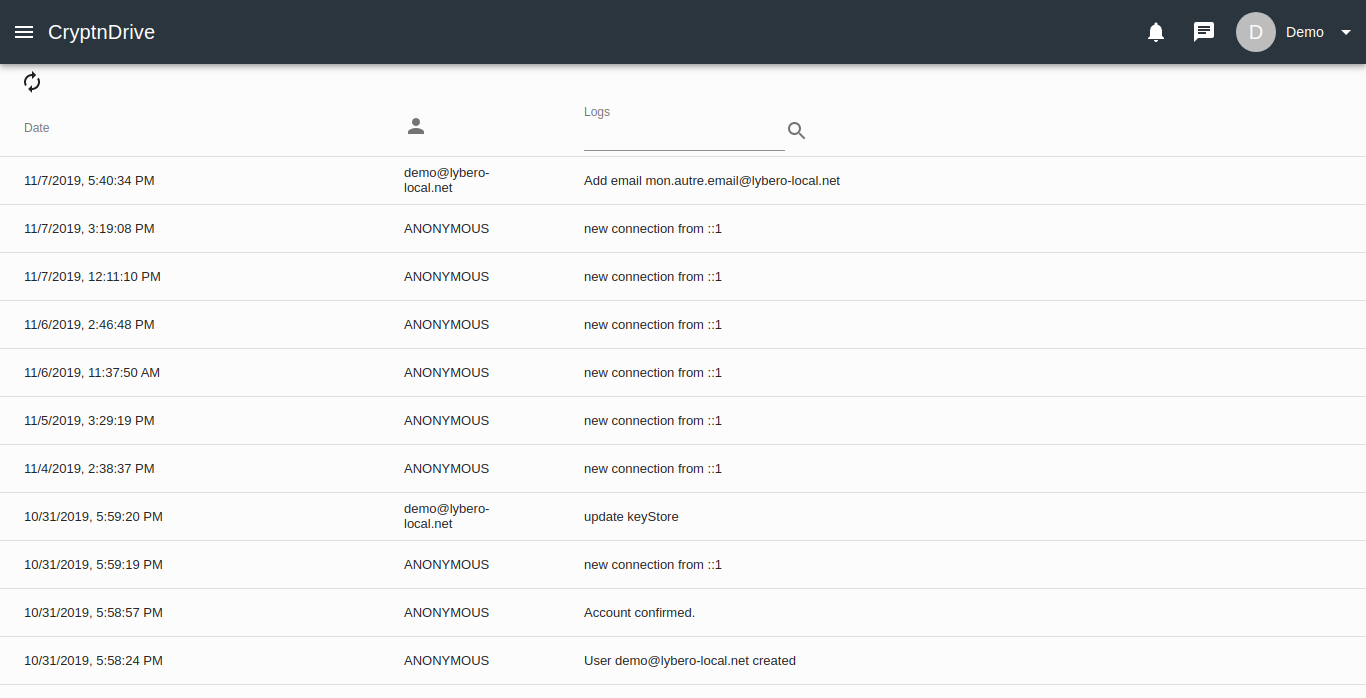
- my logs
- You will find here the logs concerning your account (add email address, login, account blocking, unblocking, etc...).
- Logout
- The button to make sure you log out of the application.
Main menu tour
The main menu allows you (accessible via the icon (![]() ) at the top left) to quickly access the vault list (
) at the top left) to quickly access the vault list (![]() ) and some additional information such as :
) and some additional information such as :
- Users (
 ) : grouping the users you share with
 - Quorums (
 ) : the quorums you are part of
 - Groups (
 ) : the groups you belong to
 - About (
 ): which contains certain information that you may be asked for if you need assistance.
Advanced Search
On the vault display screen, you will surely see an additional button (![]() ) on the search field
) on the search field
A click on this icon will take you to the advanced search :

You will then be able to perform a more advanced search on :
- The name of the vault,
- the description of the vault,
- the members sharing the vault.
![]() When many vaults are displayed, the classic search can take a little longer, you can then go through the advanced search, to search for a name, the search is done synchronously after clicking on the "search" button and is faster.
When many vaults are displayed, the classic search can take a little longer, you can then go through the advanced search, to search for a name, the search is done synchronously after clicking on the "search" button and is faster.